
Single-character PNG
Export a ready-to-place $Character.png sheet instead of rearranging a generic sheet.
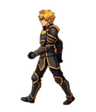
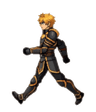
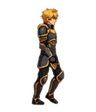
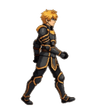
Generate walking sprites for RPG Maker. Export a single-character PNG for MV, MZ, or VX Ace map projects.
RPG Maker export
$Hero.png

Output fit
RPG Maker map characters work when the file follows the engine's strict walking-character sheet rules.
RPG Maker needs
AutoSprite gives
Export a ready-to-place $Character.png sheet instead of rearranging a generic sheet.
Build the RPG Maker walking-character layout: four facing rows and three walk patterns per row.
Choose the 48px MV/MZ preset or the 32px VX Ace preset from AutoSprite's RPG Maker export.
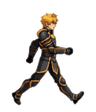
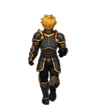
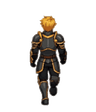
Start from a prompt or image and keep one identity across up, right, and down walks.
$Character.png
Recommended output
A single 3 x 4 walking character sheet for RPG Maker map use.
MV/MZ preset
48px cells
Produces a 144 x 192 PNG when using the standard single-character size.
VX Ace preset
32px cells
Produces a 96 x 128 PNG for VX Ace-style projects.
Side-view battler
Separate format
SV actors use a different layout — 9 columns x 6 rows of 64 x 64 frames — so do not treat the walking export as a battler sheet.
Actual workflow
AutoSprite creates the walk art while RPG Maker stays in charge of actors, events, maps, and movement behavior.
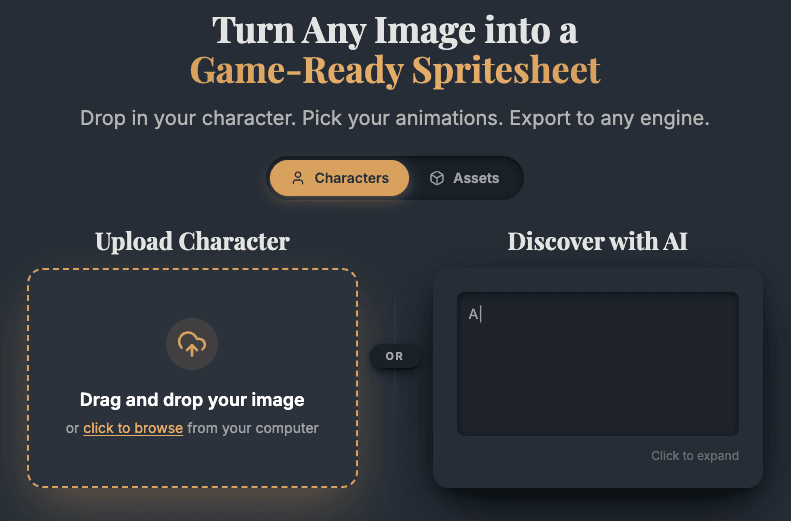
Start from a character brief or existing concept art.
Generate up, right, and down walking directions.
Export a single-character sheet with $ in the filename.
Place the PNG in the project's characters folder and assign it in the editor.
Plan the output as a walking character sheet for actors, followers, NPCs, or events on a tile map.
AutoSprite's RPG Maker export needs the directions it can assemble into the four RPG Maker rows.
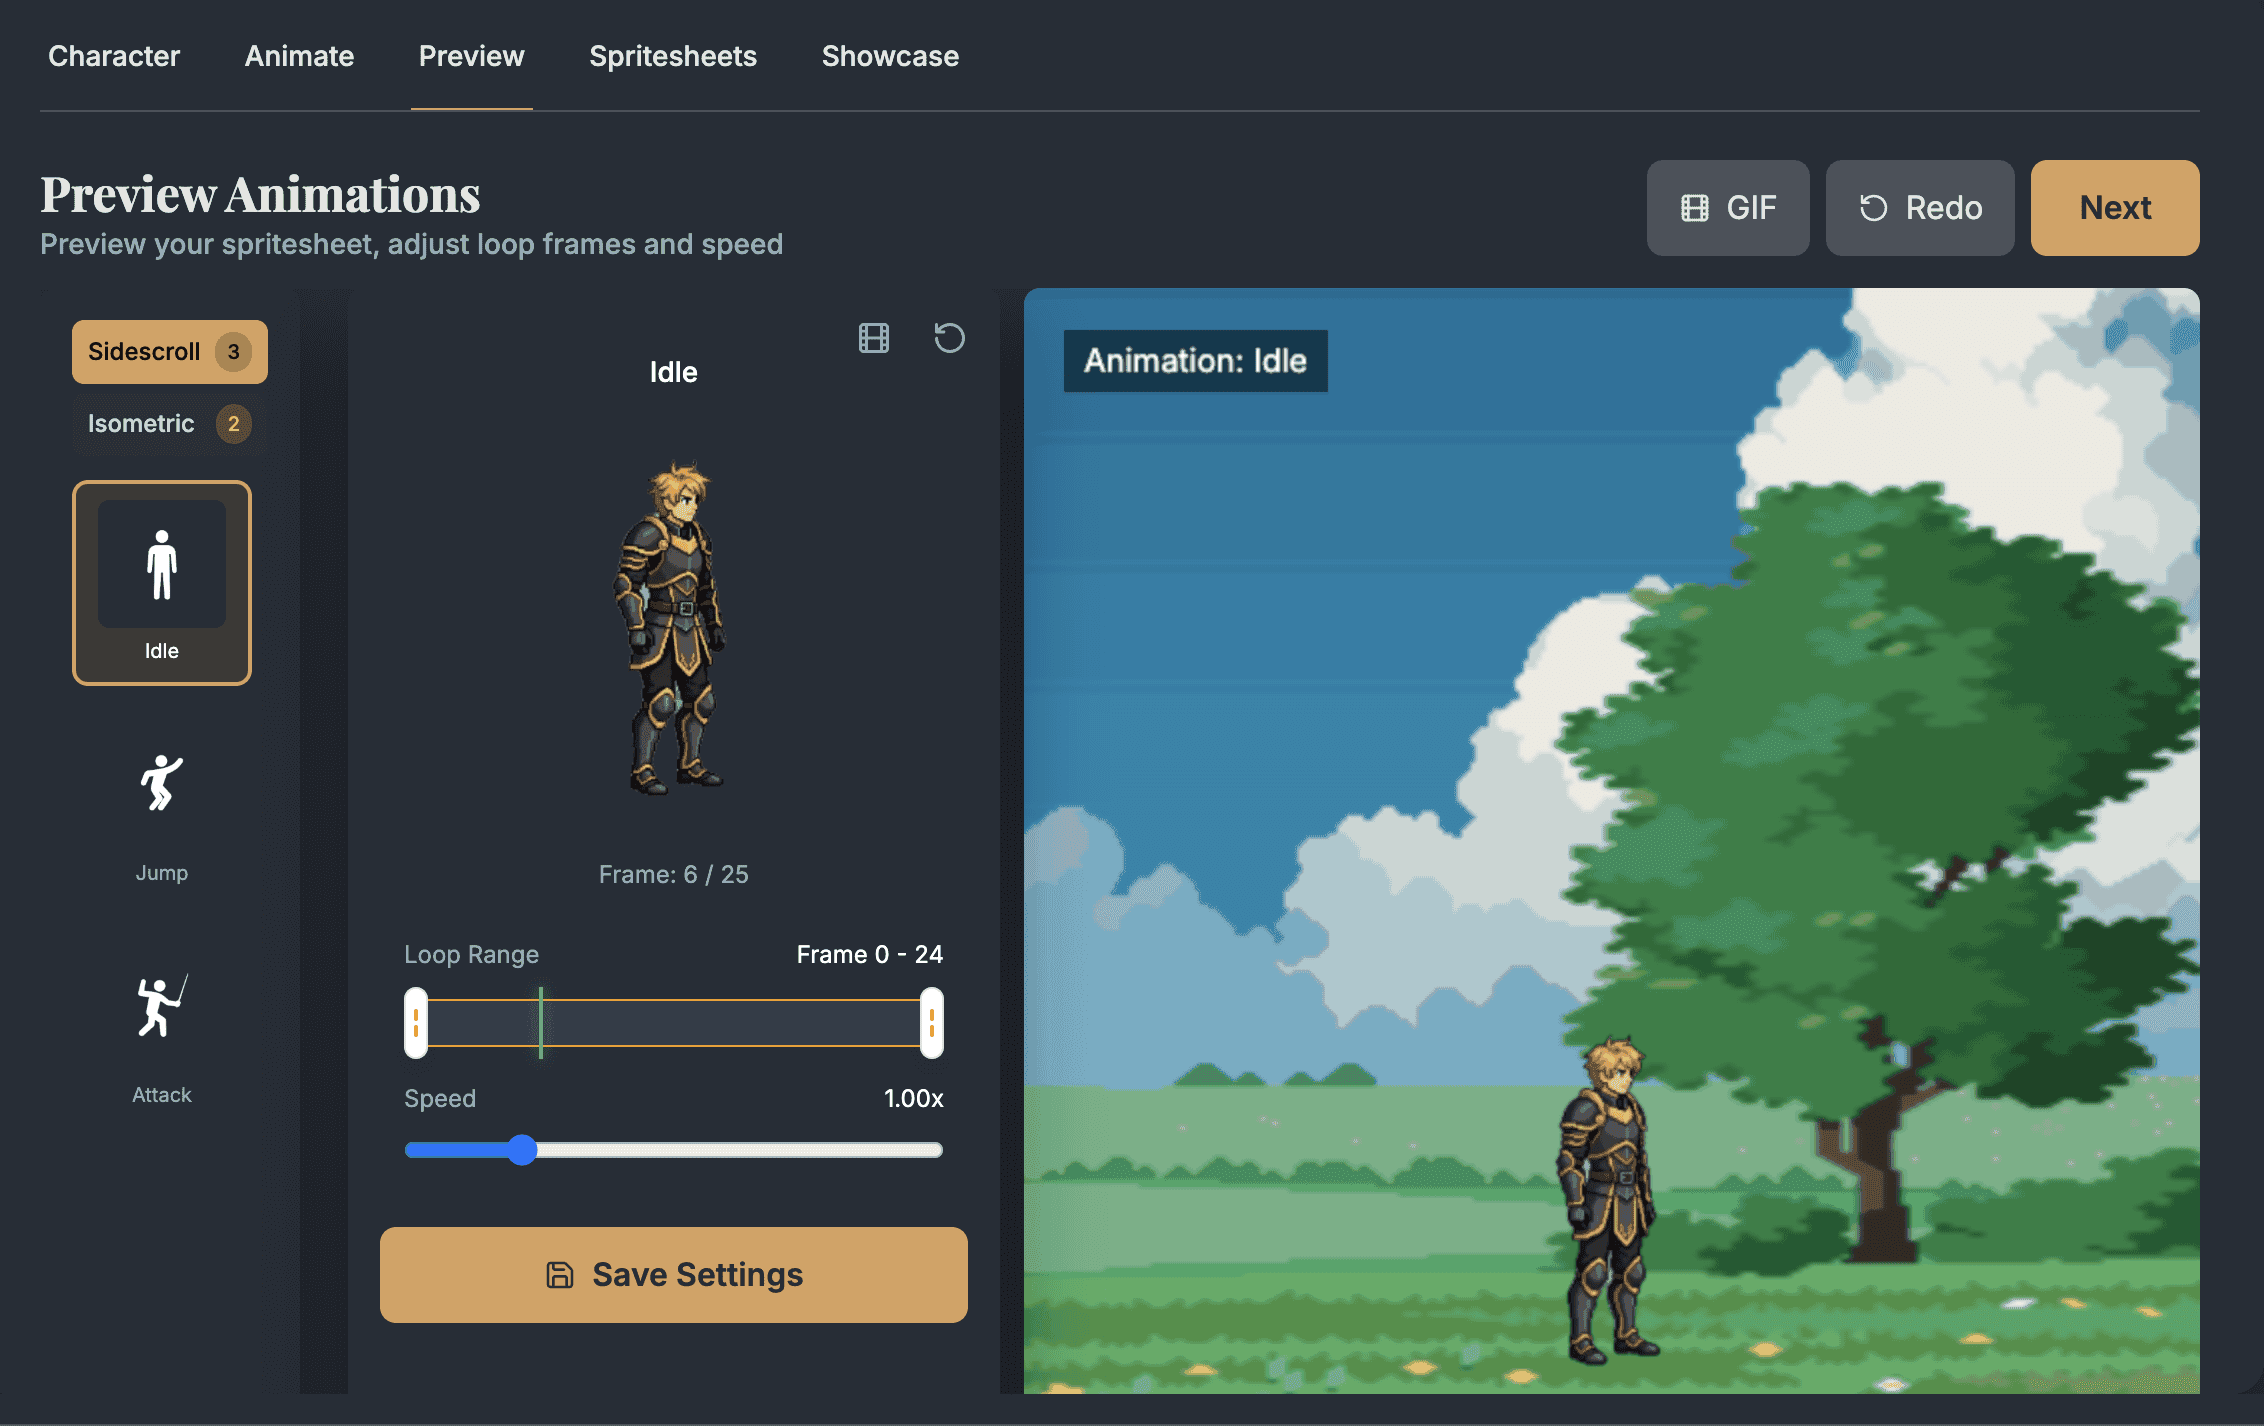
Check the generated motion before it becomes a strict 3 x 4 RPG Maker character sheet.
Download the RPG Maker PNG, copy it into the project, then assign it to an actor or event.
Place $Character.png in img/characters, then select it from Actor or Event image controls.
RPG Maker integration docsUse ! or !$ when the sprite is a door, chest, sign, or other object that should stay aligned to the tile.
Prefix notes
RPG Maker import
A good RPG Maker import keeps filename prefixes, cell size, folder placement, and actor/event assignment clear.
Export format
RPG Maker Format
Use the dedicated export when you want a single-character walking sheet instead of the normal AutoSprite ZIP.
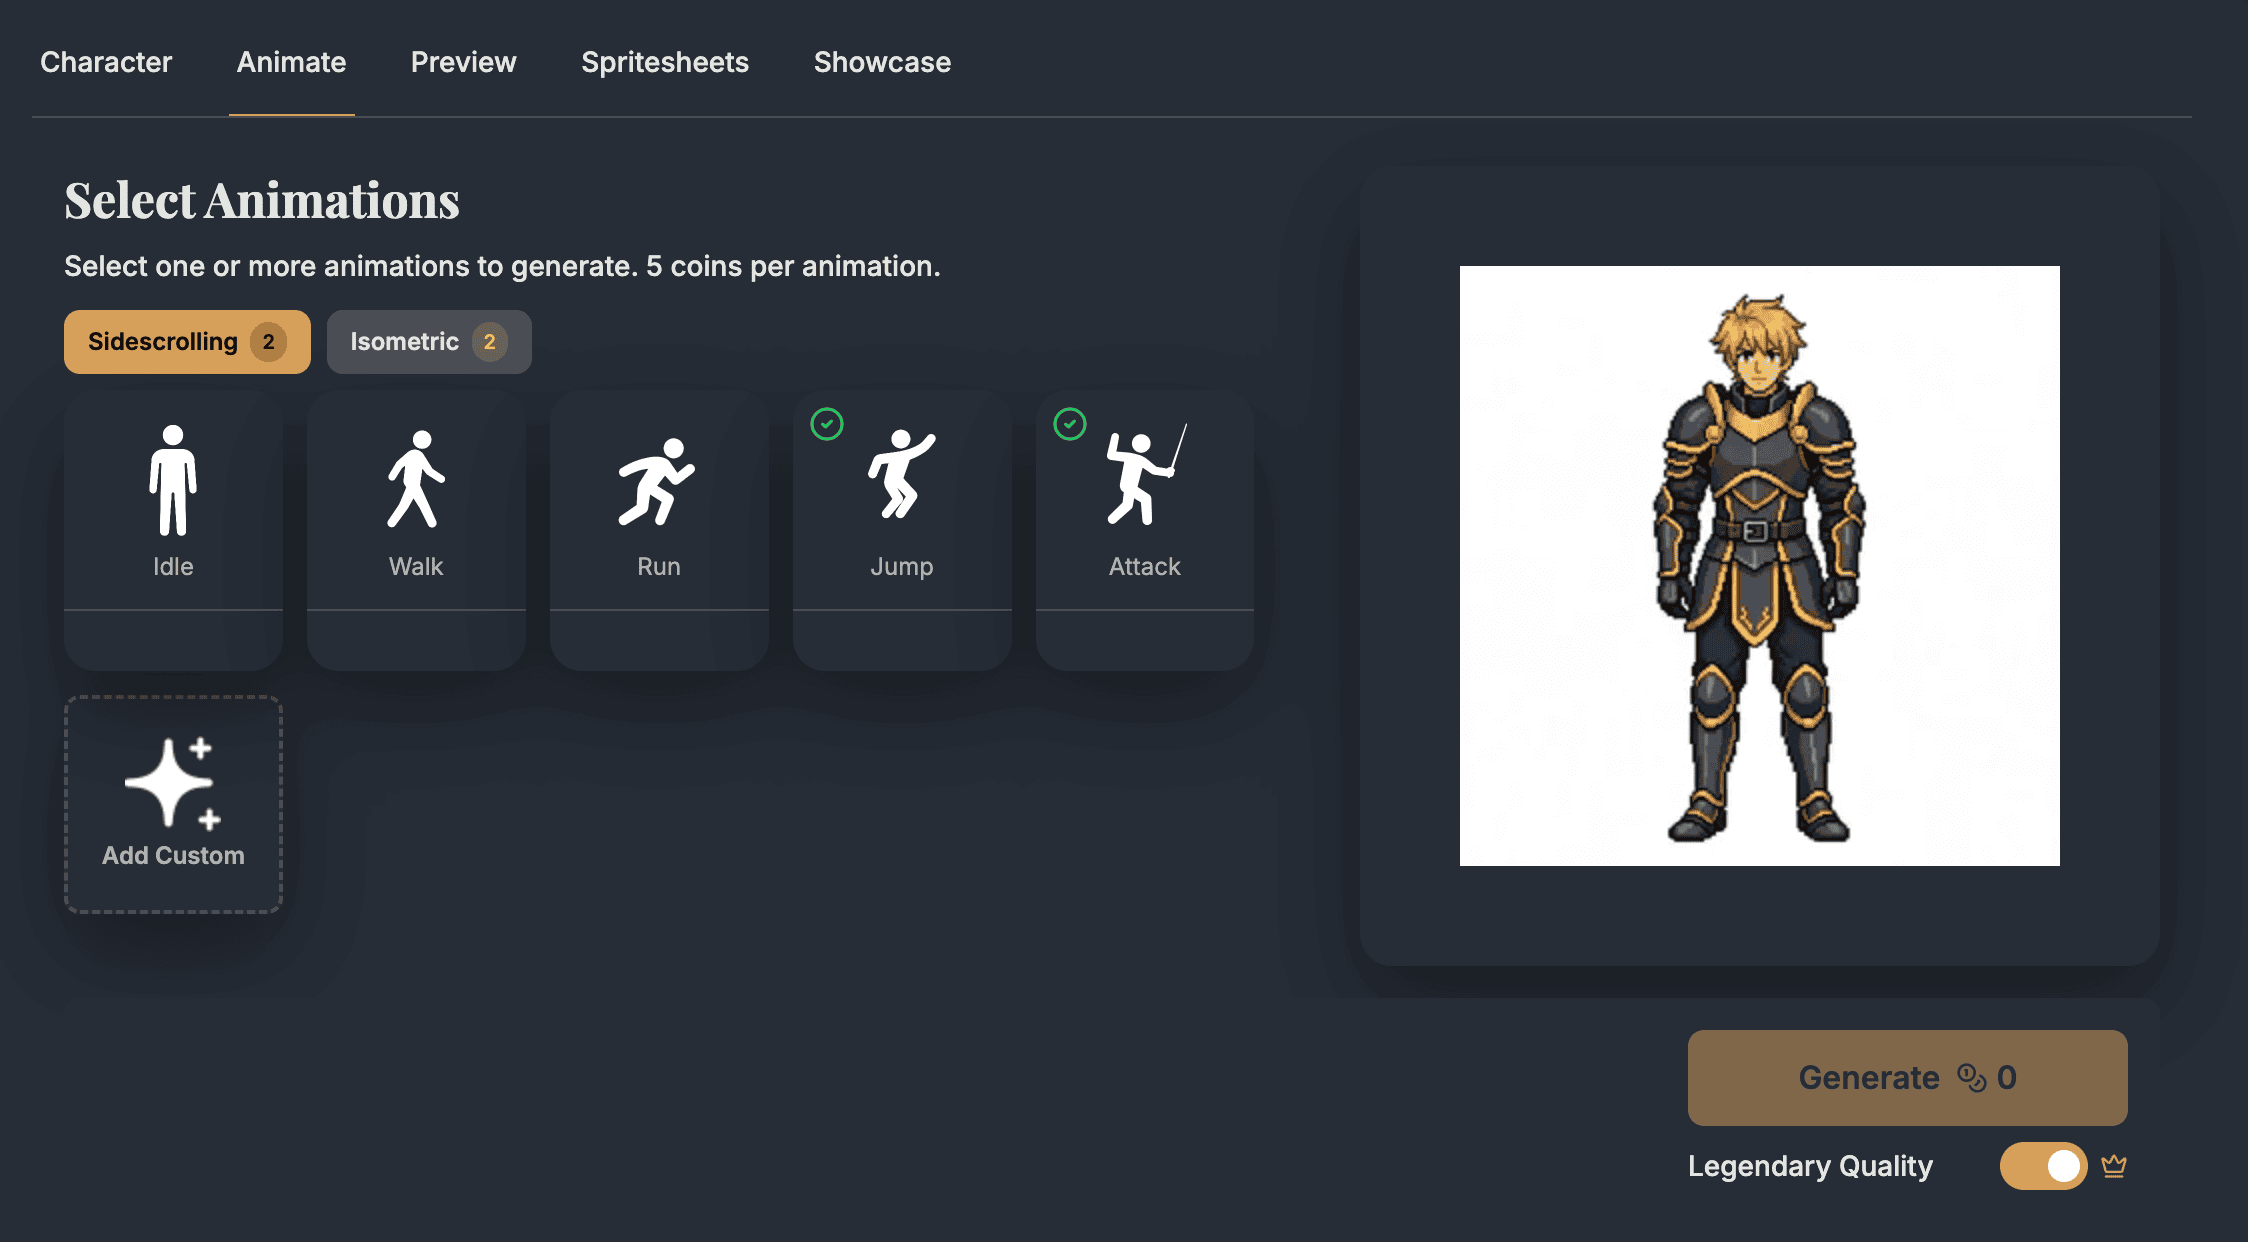
Required animations
iso_walk_down/right/up
The exporter uses these three directions and creates the left row from the right-facing walk.
Cell size
48px MV/MZ or 32px VX Ace
Pick the engine preset that matches the project you are targeting.
Filename
$Character.png
The $ prefix tells RPG Maker to treat the file as one character instead of an 8-character sheet.
Project folder
img/characters (MV/MZ), Graphics/Characters (VX Ace)
Copy the exported PNG into the folder RPG Maker reads for map walking characters.
Editor assignment
Actor or Event image
Use the Actor Walking Character slot for party members or the Event Image selector for map events.
Sheet anatomy
RPG Maker does not read animation names from the PNG. It reads row position, column position, and filename prefixes.
Export result
One PNG, four directions
Import guardrails
Most RPG Maker sprite issues come from filename prefixes, row order, or mixing walking characters with battler formats.
Without $, RPG Maker expects an 8-character sheet and slices the file differently. Use $Hero.png for one character.
RPG Maker reads character rows as down, left, right, then up. Wrong row order makes characters face the wrong way.
Walking characters use 3 x 4. Side-view actor battlers use a separate 9 x 6 sheet in img/sv_actors.
RPG Maker shifts normal characters upward (6px in MV/MZ, 4px in VX Ace). Use ! or !$ for doors, chests, and flush map objects.
AutoSprite's RPG Maker export needs iso_walk_down, iso_walk_right, and iso_walk_up before it can build the sheet.
Workflow decision
Use AutoSprite for original walking art, then let RPG Maker own actors, events, movement options, and map testing.
Use AutoSprite when
Use this workflow when the party, NPCs, monsters, or events need custom map sprites before you can test the scene.
Use $ when
A $-prefixed filename tells RPG Maker to calculate one 3 x 4 character from the full image dimensions.
Use ! when
Use ! or !$ for doors, chests, signs, and other objects that should not receive the normal upward character shift (6px in MV/MZ).
Use SV battlers when
Side-view actor sheets use a 9-column x 6-row layout in img/sv_actors, so keep that separate from walking-character exports.
Pipeline fit
Use generated walkers while you block out towns, encounters, followers, and event interactions.
AutoSprite supplies the PNG. RPG Maker still owns Actors, Event pages, movement options, priorities, and triggers.
Use this export for img/characters, and a separate 9 x 6 side-view battler workflow for img/sv_actors.
If slicing or vertical placement looks wrong, check $ and ! before changing the art itself.
Format handoff
The final file is simple, but the dimensions, row order, and filename matter. This layout note is the version you want beside your export.
RPG Maker walking character sheet

project path:
img/characters/$MyHero.png        (MV/MZ)
Graphics/Characters/$MyHero.png   (VX Ace)

MV/MZ preset:
cell = 48 x 48
sheet = 144 x 192

VX Ace preset:
cell = 32 x 32
sheet = 96 x 128

3 x 4 layout:
row 1: down  | step | stand | step
row 2: left  | step | stand | step
row 3: right | step | stand | step
row 4: up    | step | stand | step

AutoSprite required before export:
iso_walk_down
iso_walk_right
iso_walk_up
RPG Maker use cases
AutoSprite helps most when original map characters are blocking a playable RPG Maker scene, event, or party test.
Create walking sheets for playable actors assigned in Database > Actors.
Generate townspeople, vendors, guards, monsters, pets, and quest events for the Event Image picker.
Use single-character sheets for larger creatures or objects, then add ! for flush tile alignment.
FAQ
These are the practical questions developers usually ask before they try the export in a real RPG Maker project.
Yes. AutoSprite creates a single-character walking PNG for RPG Maker MV, MZ, or VX Ace after the required isometric walk directions exist.
Generate iso_walk_down, iso_walk_right, and iso_walk_up. Optional iso_idle directions can improve the standing frame.
The $ prefix tells RPG Maker that the PNG contains one character. Without it, RPG Maker treats the file as an 8-character sheet arranged 4 across and 2 down.
Use ! when the sprite should not shift upward (6px in MV/MZ) or receive the bush semi-transparency effect. It is mainly for doors, chests, signs, and other grid-aligned map objects. You can combine it with $ as !$Door.png.
No. This page is for walking sheets in img/characters. Side-view actor battlers (MV/MZ) use a separate format in img/sv_actors: 9 columns x 6 rows of 64 x 64 frames (576 x 384).
Copy the PNG into img/characters (MV/MZ) or Graphics/Characters (VX Ace). Then select it in Database > Actors > Walking Character, or in an Event page Image.
Start with a prompt or character image, generate the isometric walk directions, and export a PNG when the map character is ready to test.
AutoSprite is independent and is not sponsored by or affiliated with Gotcha Gotcha Games, KADOKAWA, or the RPG Maker brand.