Beyond the preset animations (idle, walk, run, jump, attack), you can create custom animations with any action you describe using the Custom Animation Wizard.
Starting the Wizard
Open Custom Animation
In the animation selection panel, click the "+ Custom" button to open the Custom Animation Wizard.
Wizard Step 1: Name Your Animation
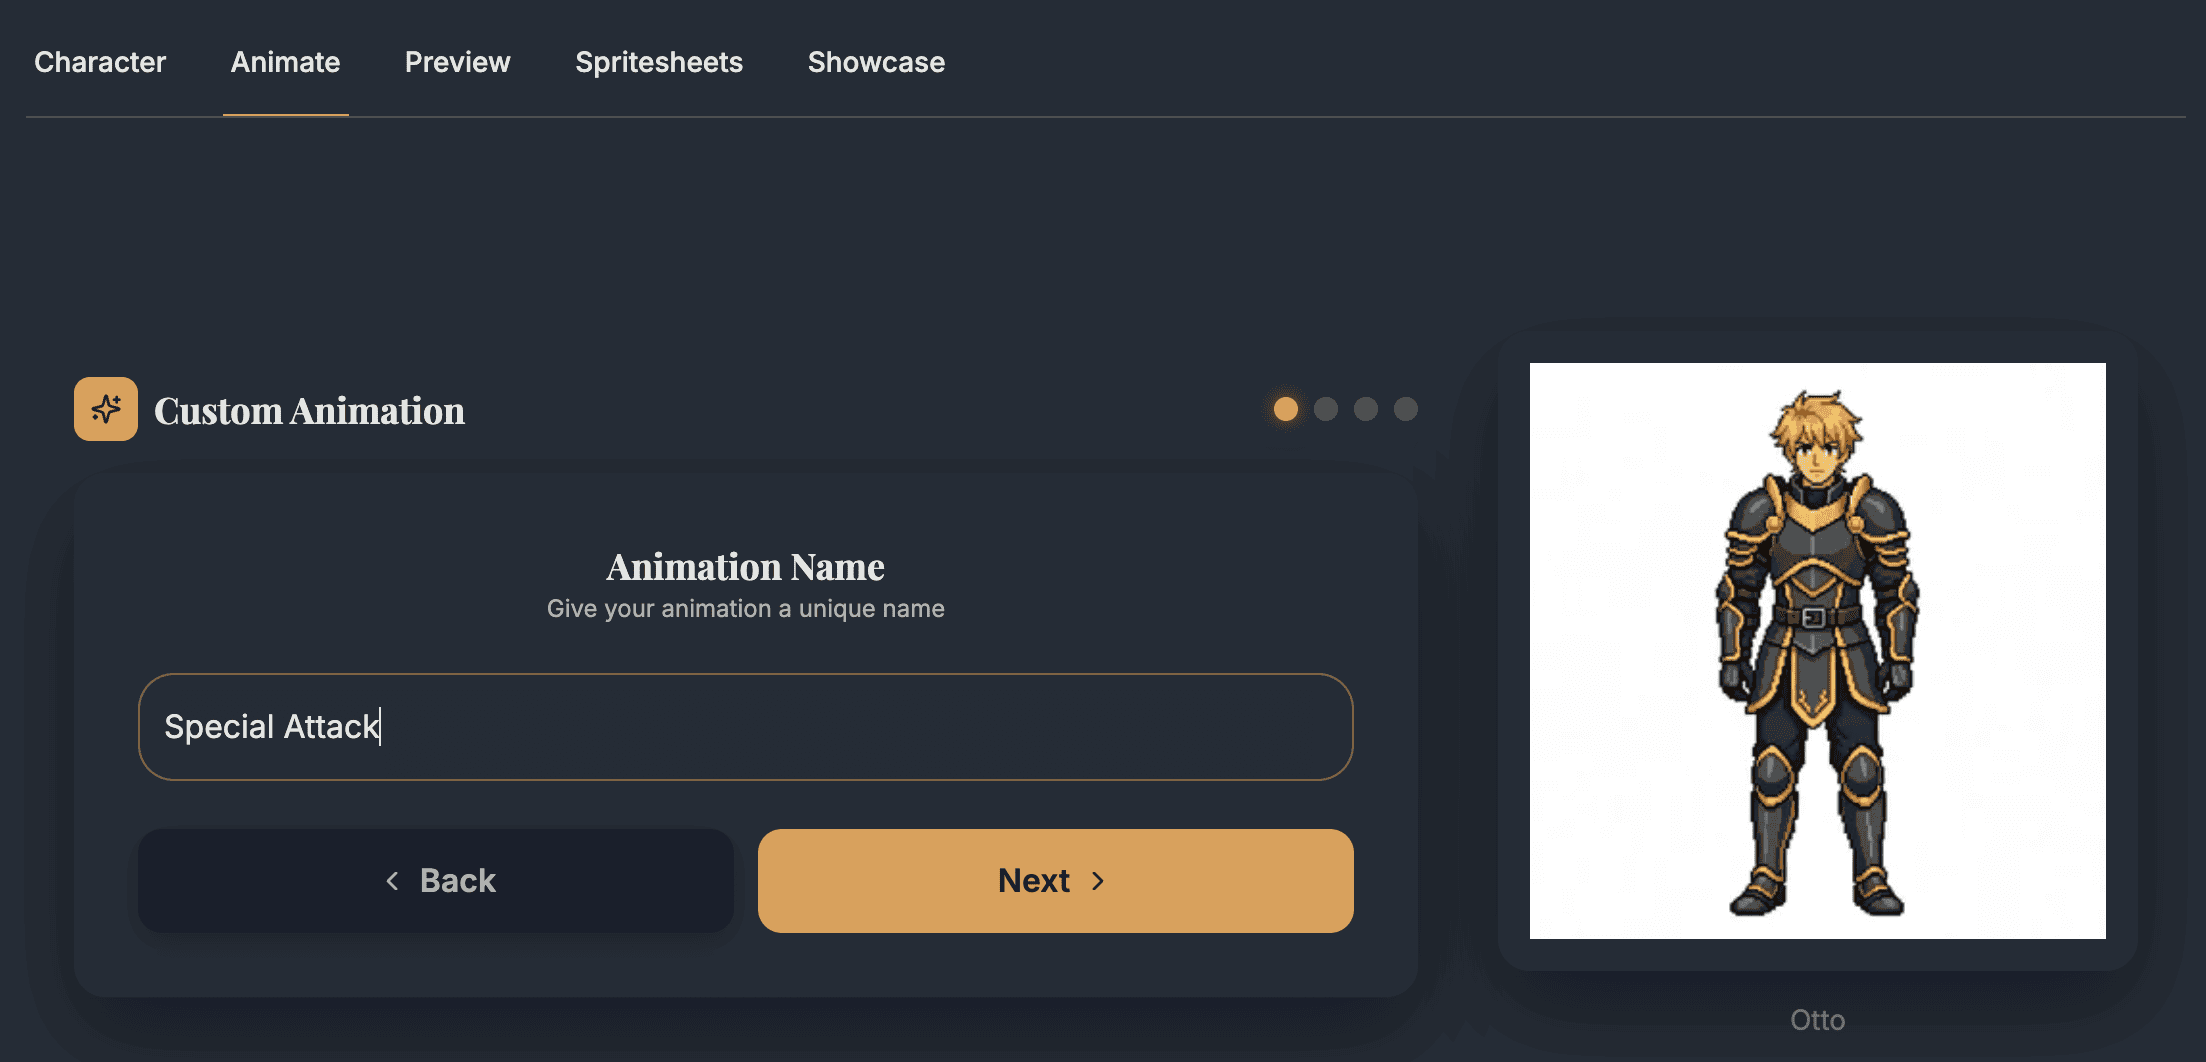
Give your animation a unique, descriptive name:
hero_special_attackcast_fireballpick_up_itemcelebrate_victory
Reserved names like "idle", "walk", "run", "jump", and "attack" cannot be used for custom animations.
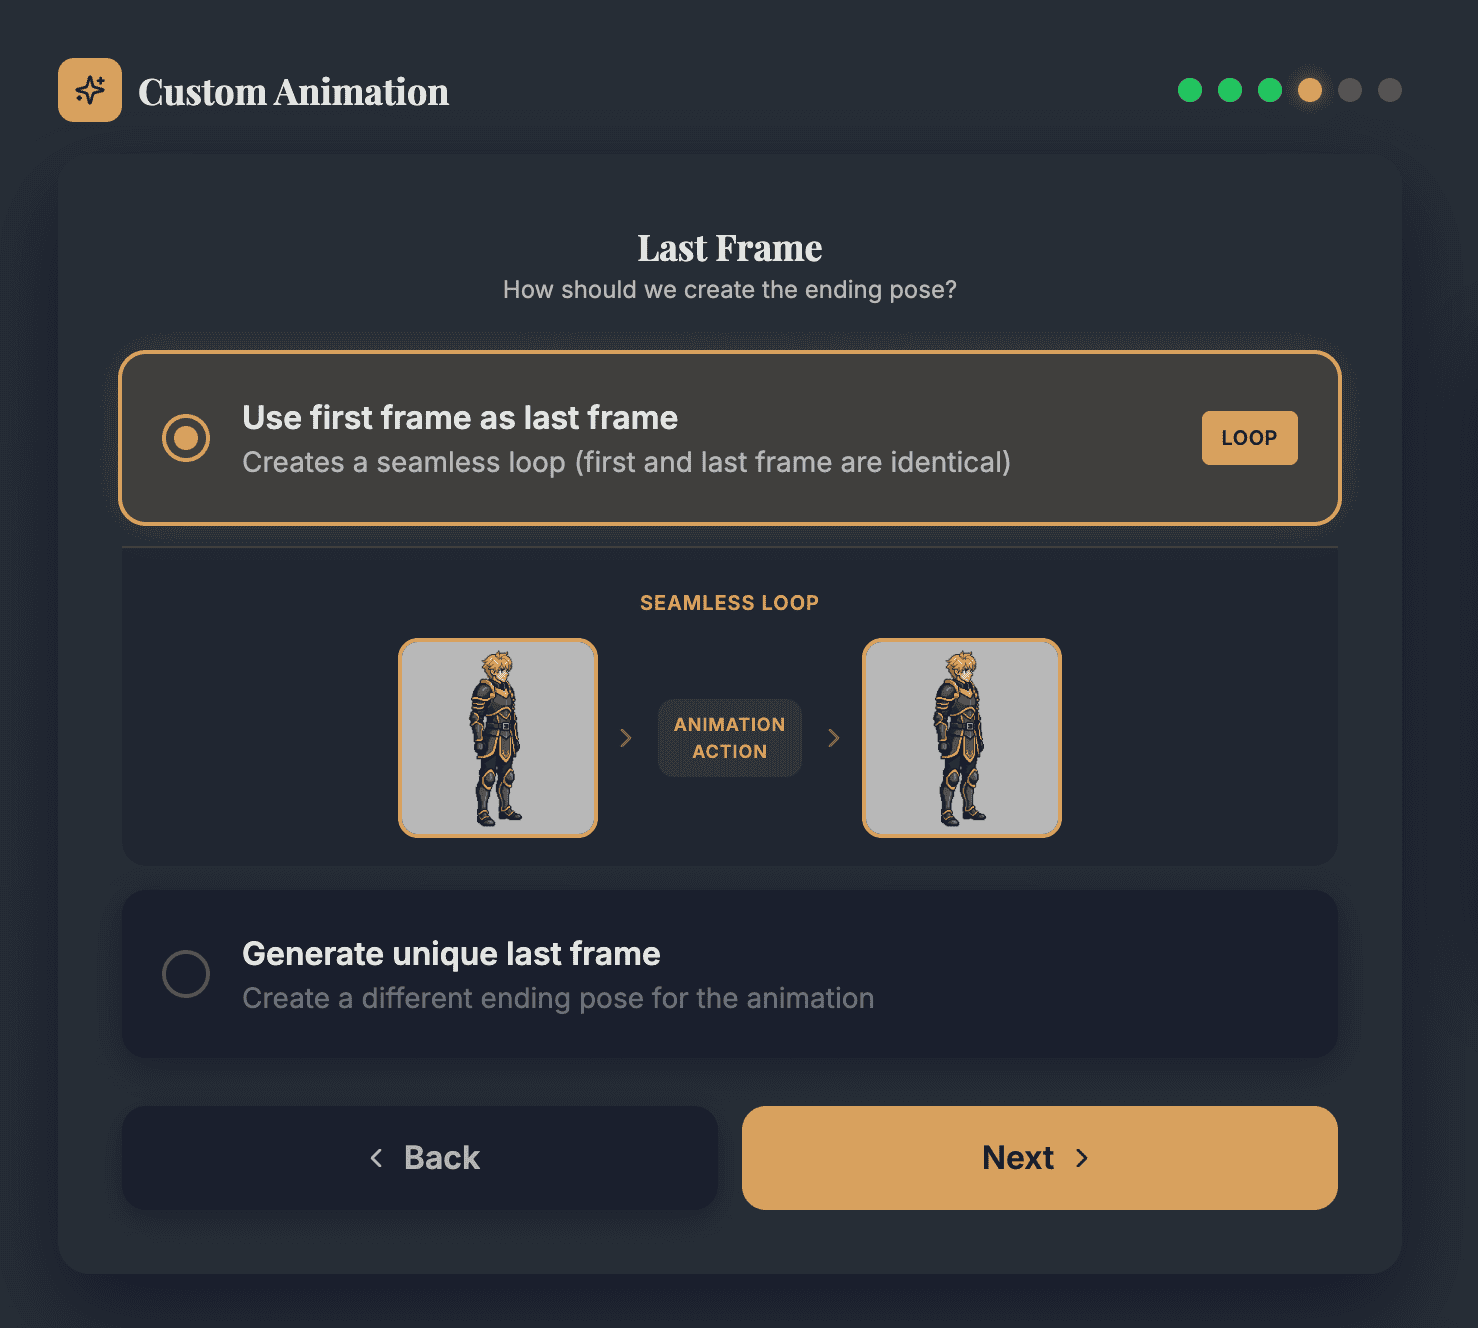
Wizard Step 2: Choose Frame Generation Mode
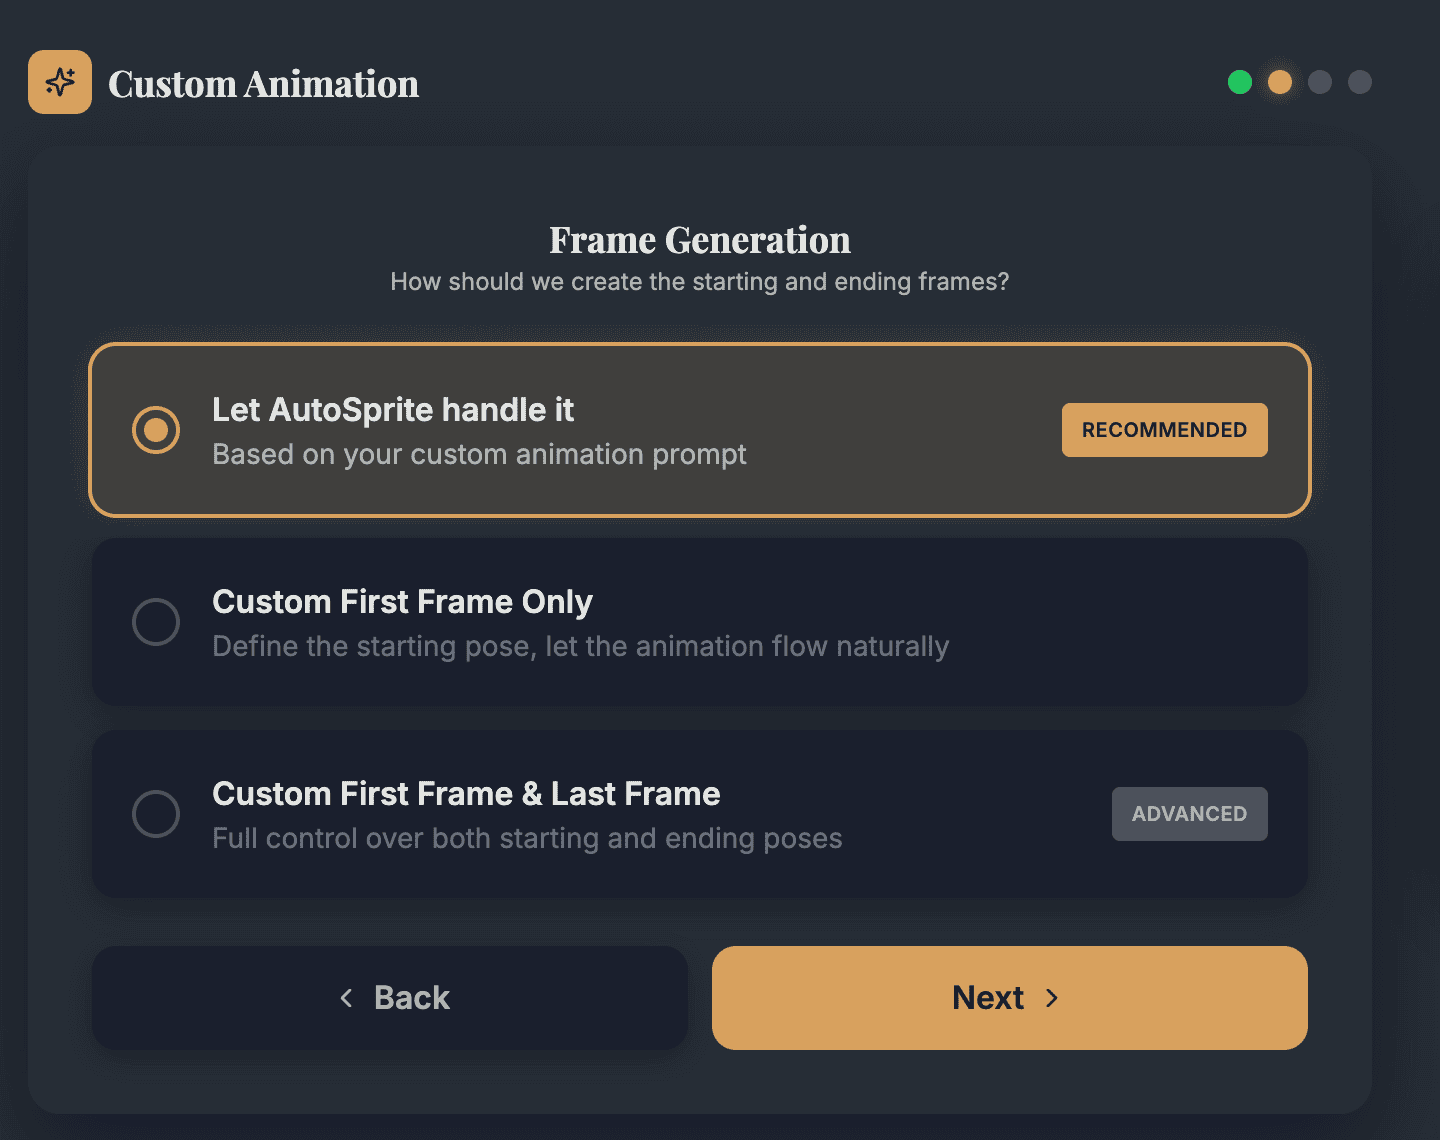
Select how you want to create the starting and ending frames:
| Mode | Description | Best For |
|---|---|---|
| Let AutoSprite handle it | AutoSprite generates frames based on your action prompt | Quick results, standard actions |
| Custom First Frame Only | You define the starting pose, animation flows naturally | Specific starting positions |
| Custom First & Last Frame | Full control over both starting and ending poses | Complex or precise animations |
Start with "Let AutoSprite handle it" for your first custom animation. You can always use the advanced options later.
Wizard Step 3: First Frame (Custom Modes Only)
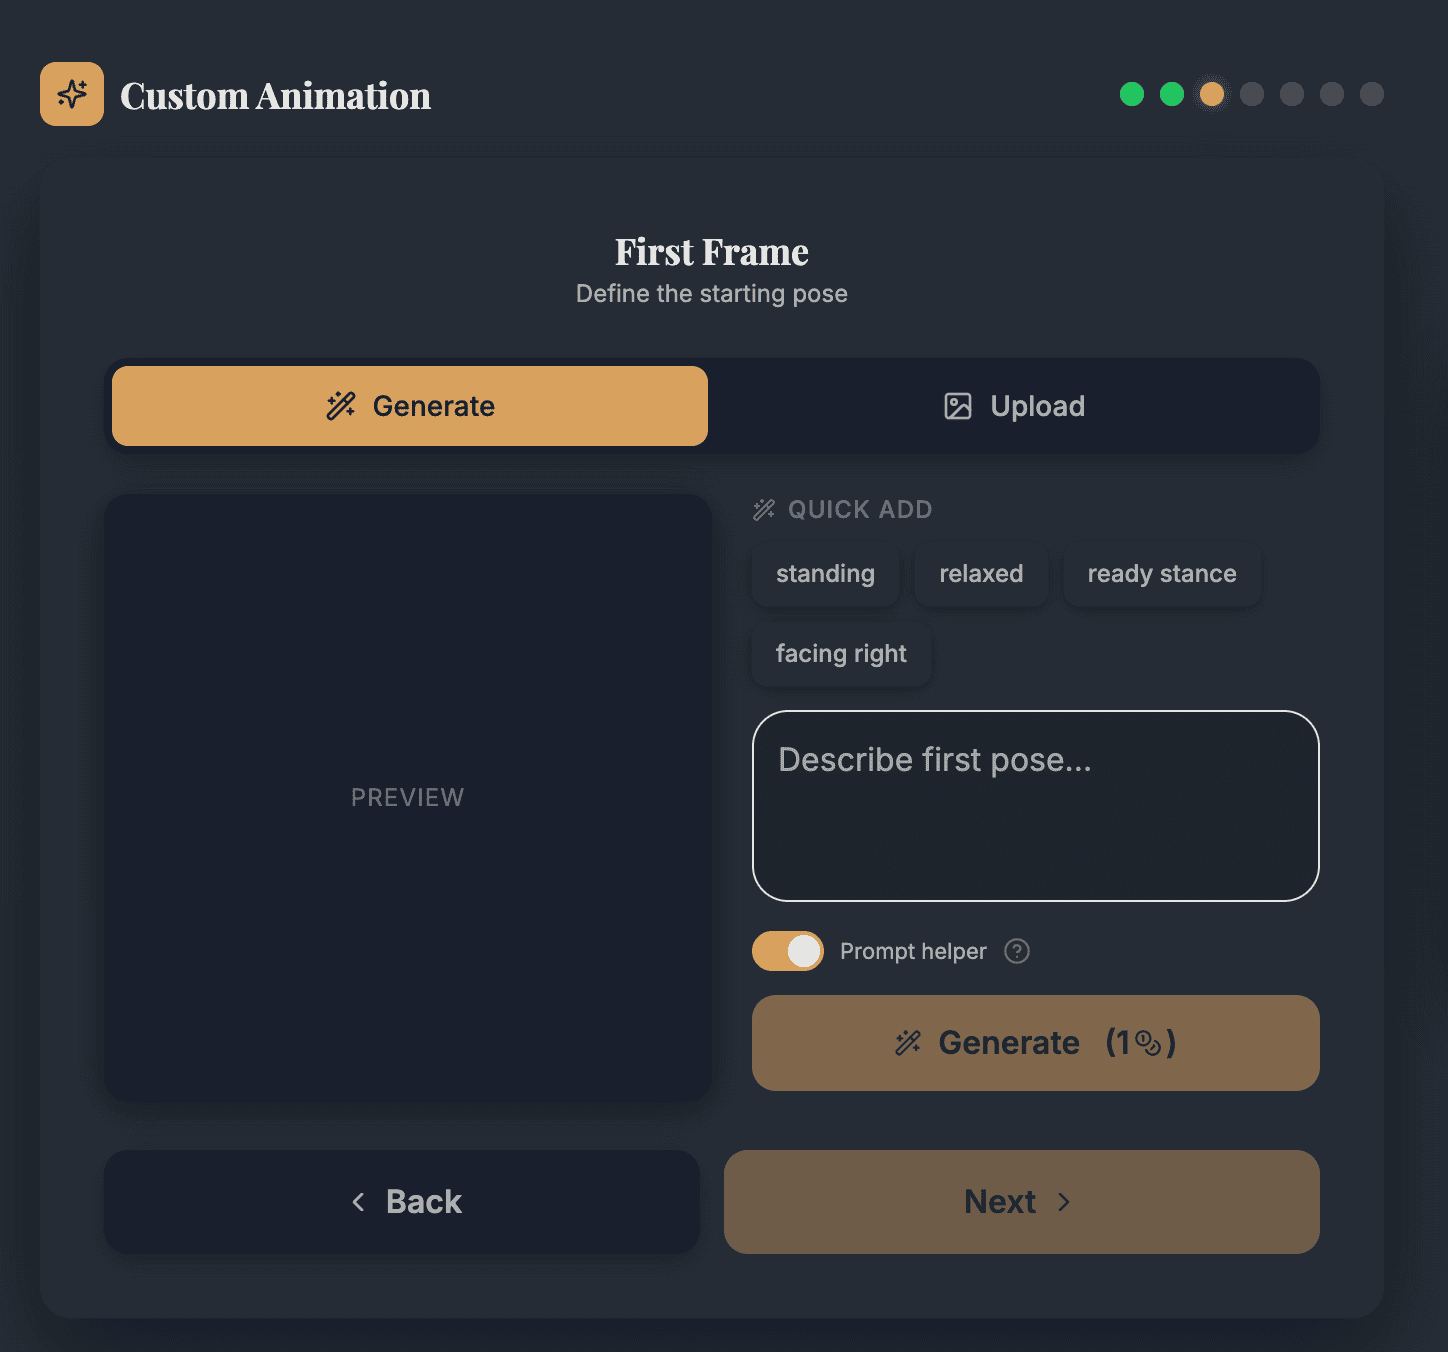
If you chose a custom frame mode, you'll define the starting pose.
Generate or Upload
You have two options:
- Generate - Describe the pose with a text prompt and AI generates it
- Upload - Upload your own image for the first frame
Generation Tips
Use the Quick Add presets to build your prompt:
standingrelaxedready stancefacing right
Or write your own detailed description of the pose.
The Prompt Helper toggle adds extra instructions to ensure the generated frame works well with AutoSprite (grey background, centering, consistent proportions). Keep it enabled for best results.
Wizard Step 4: Loop Choice (Custom First & Last Mode)
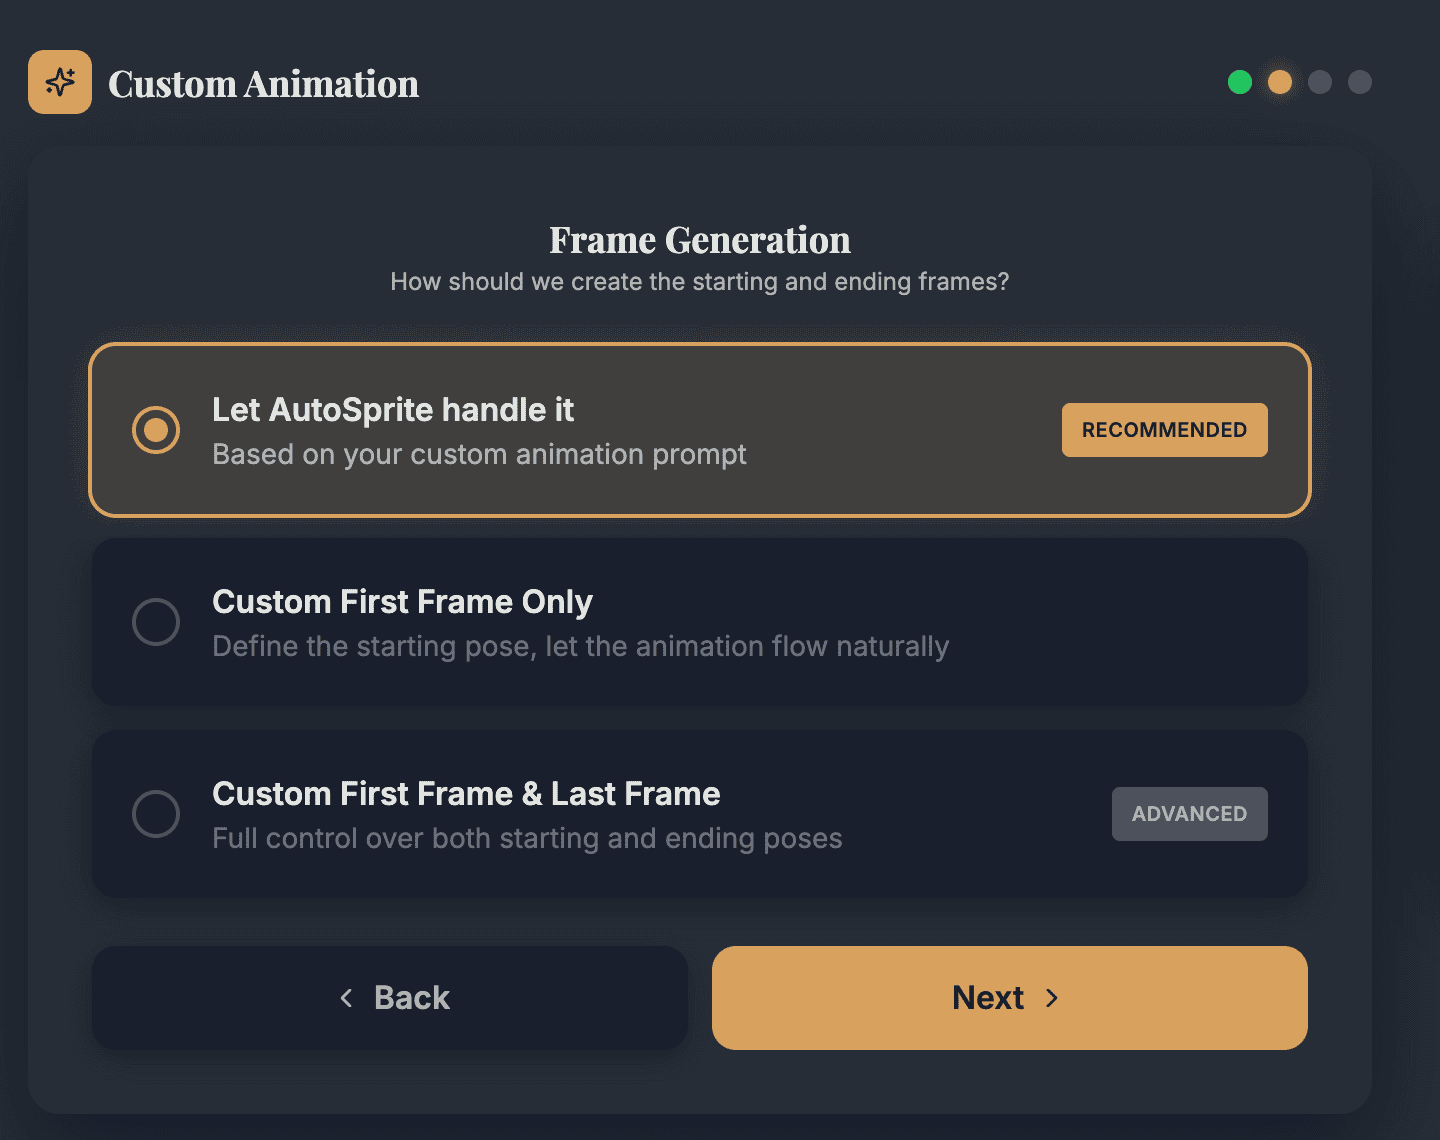
Choose how to handle the last frame:
Option 1: Use First Frame as Last (Loop)
Creates a seamless loop where the animation returns to the starting pose. Perfect for:
- Idle animations
- Breathing/floating effects
- Repeating actions
Option 2: Generate Unique Last Frame
Create a different ending pose. Perfect for:
- One-shot actions (attacks, jumps)
- Transformation effects
- Animations that end in a different state
Wizard Step 5: Last Frame (If Not Looping)
If you chose to generate a unique last frame:
Generation Tips
Use the Quick Add presets:
full extensionpeak actiondynamicimpact
Reference Toggle
Enable "Using first frame as reference" to ensure the last frame matches the style and details of your first frame for visual consistency.
Wizard Step 6: Describe the Action
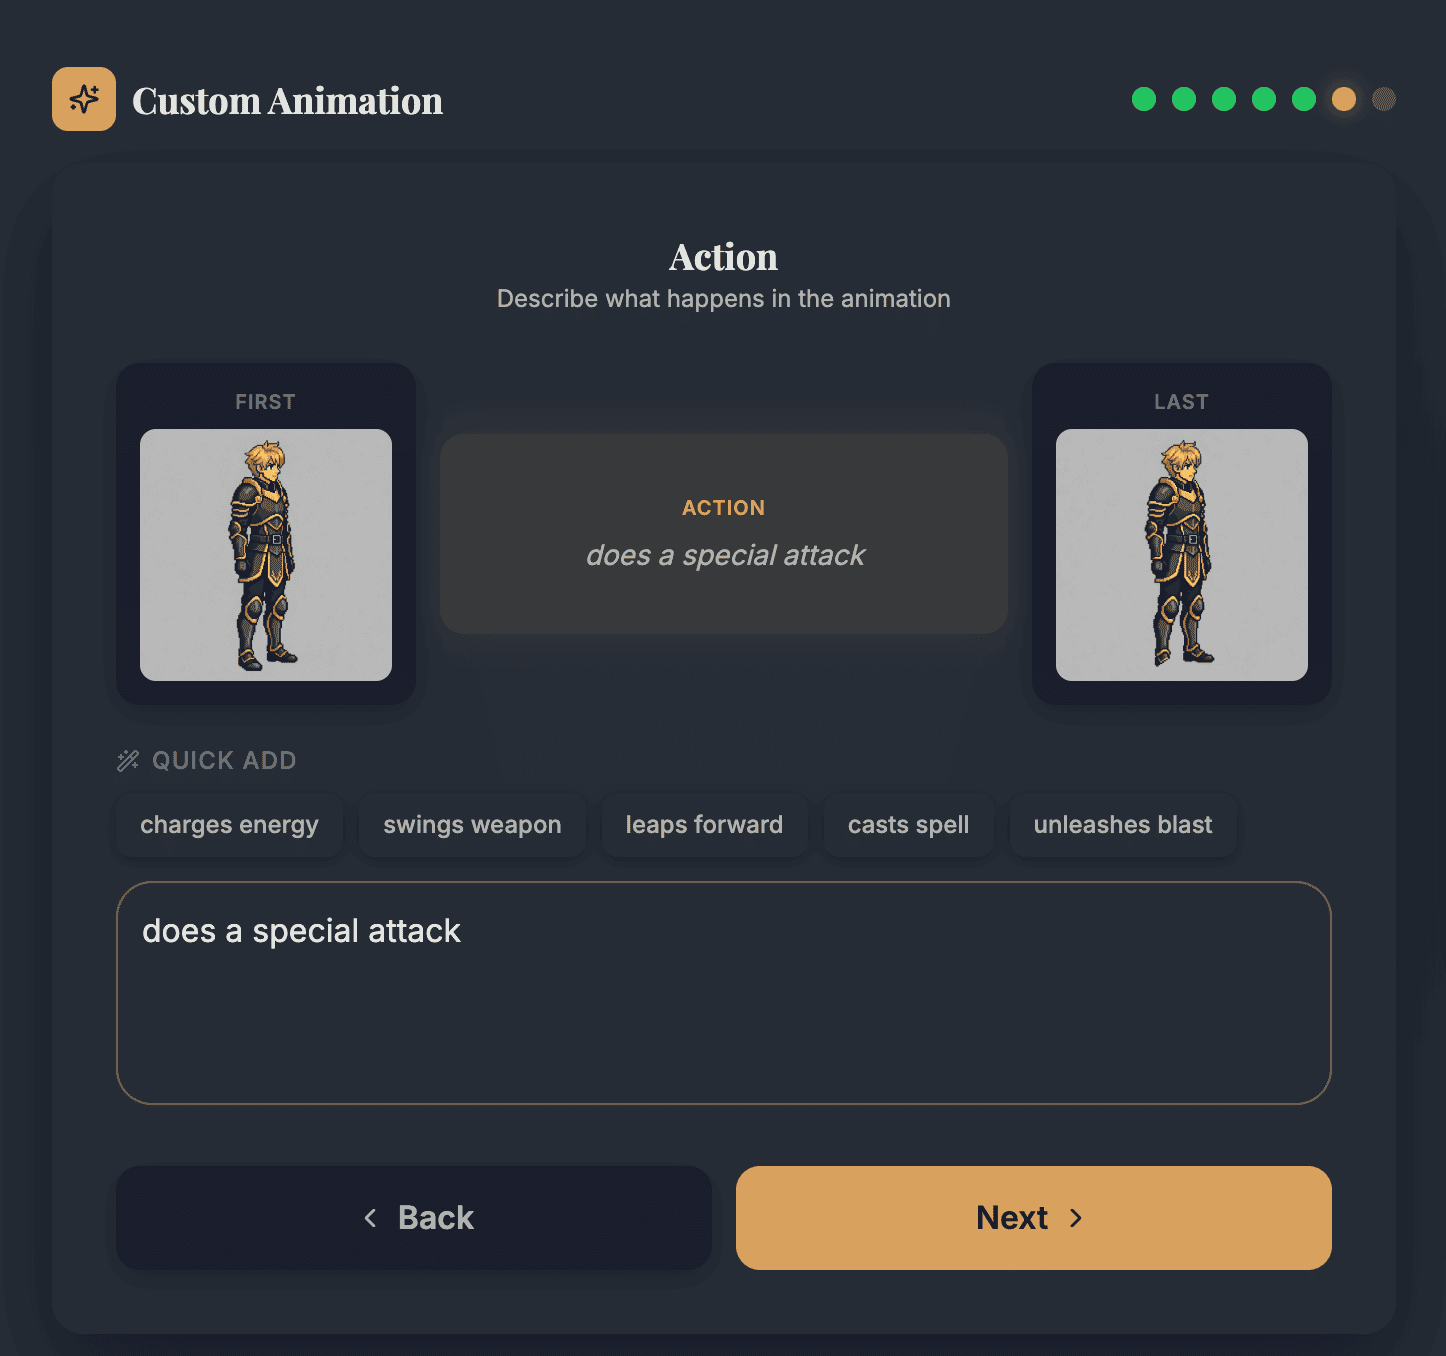
This is where you describe what happens during the animation - the motion between the first and last frames.
Good Action Prompts
- "Character raises both arms and channels glowing energy between hands"
- "Character swings sword in a wide horizontal arc from right to left"
- "Character crouches low, then springs upward with arms raised"
- "Character pulls back fist, then punches forward with full force"
Quick Add Presets
charges energyswings weaponleaps forwardcasts spellunleashes blast
Be specific about body movement and direction. Instead of "attacks," describe the exact motion like "slashes downward with both hands on sword hilt."
Wizard Step 7: Review & Create
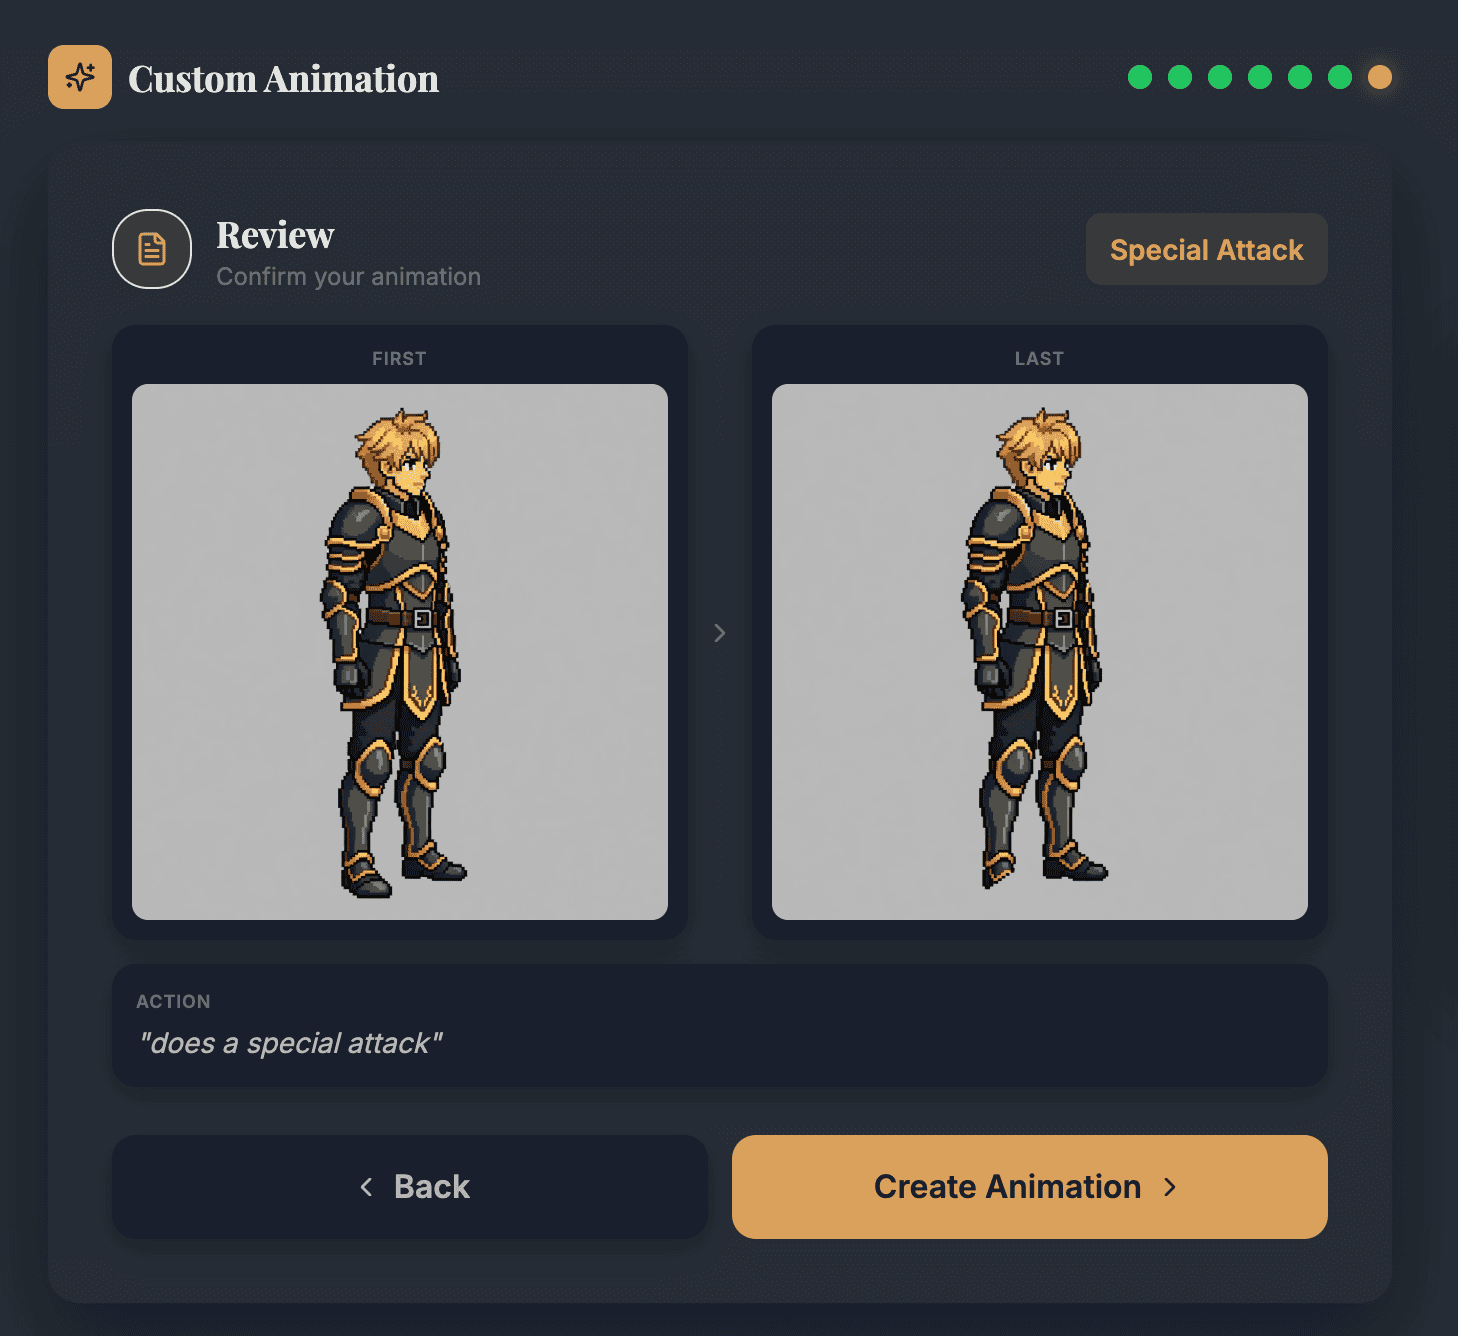
Review your configuration:
- Animation name
- First frame (custom or auto)
- Last frame (custom, auto, or loop)
- Action description
Click "Create Animation" to save. The animation is now ready to generate.
After Creation
Once your custom animation is created:
- Select it in the animation panel (it appears with your other animations)
- Generate - Click Generate to create the animation frames
- Preview - Watch it in the preview player
- Regenerate if needed - Each regeneration costs credits
Tips for Great Custom Animations
Writing Effective Prompts
| Do | Don't |
|---|---|
| "raises sword overhead and slashes down" | "attacks" |
| "leans back, then throws fireball forward" | "casts spell" |
| "jumps and spins 360 degrees" | "does a cool move" |
When to Use Each Mode
- Auto Mode: Standard actions, quick iteration, testing ideas
- Custom First Only: When starting pose matters but ending is flexible
- Custom First & Last: Precise control, looping animations, specific poses required