This guide walks you through creating your first spritesheet with AutoSprite. By the end, you'll have a complete character animation ready for your game.
Before You Start
You'll need:
- A character image (PNG or JPG, any size)
- A free AutoSprite account
For best results, use a character image with a clear silhouette, front-facing or side-view pose, and minimal background clutter.
Step 1: Upload Your Character
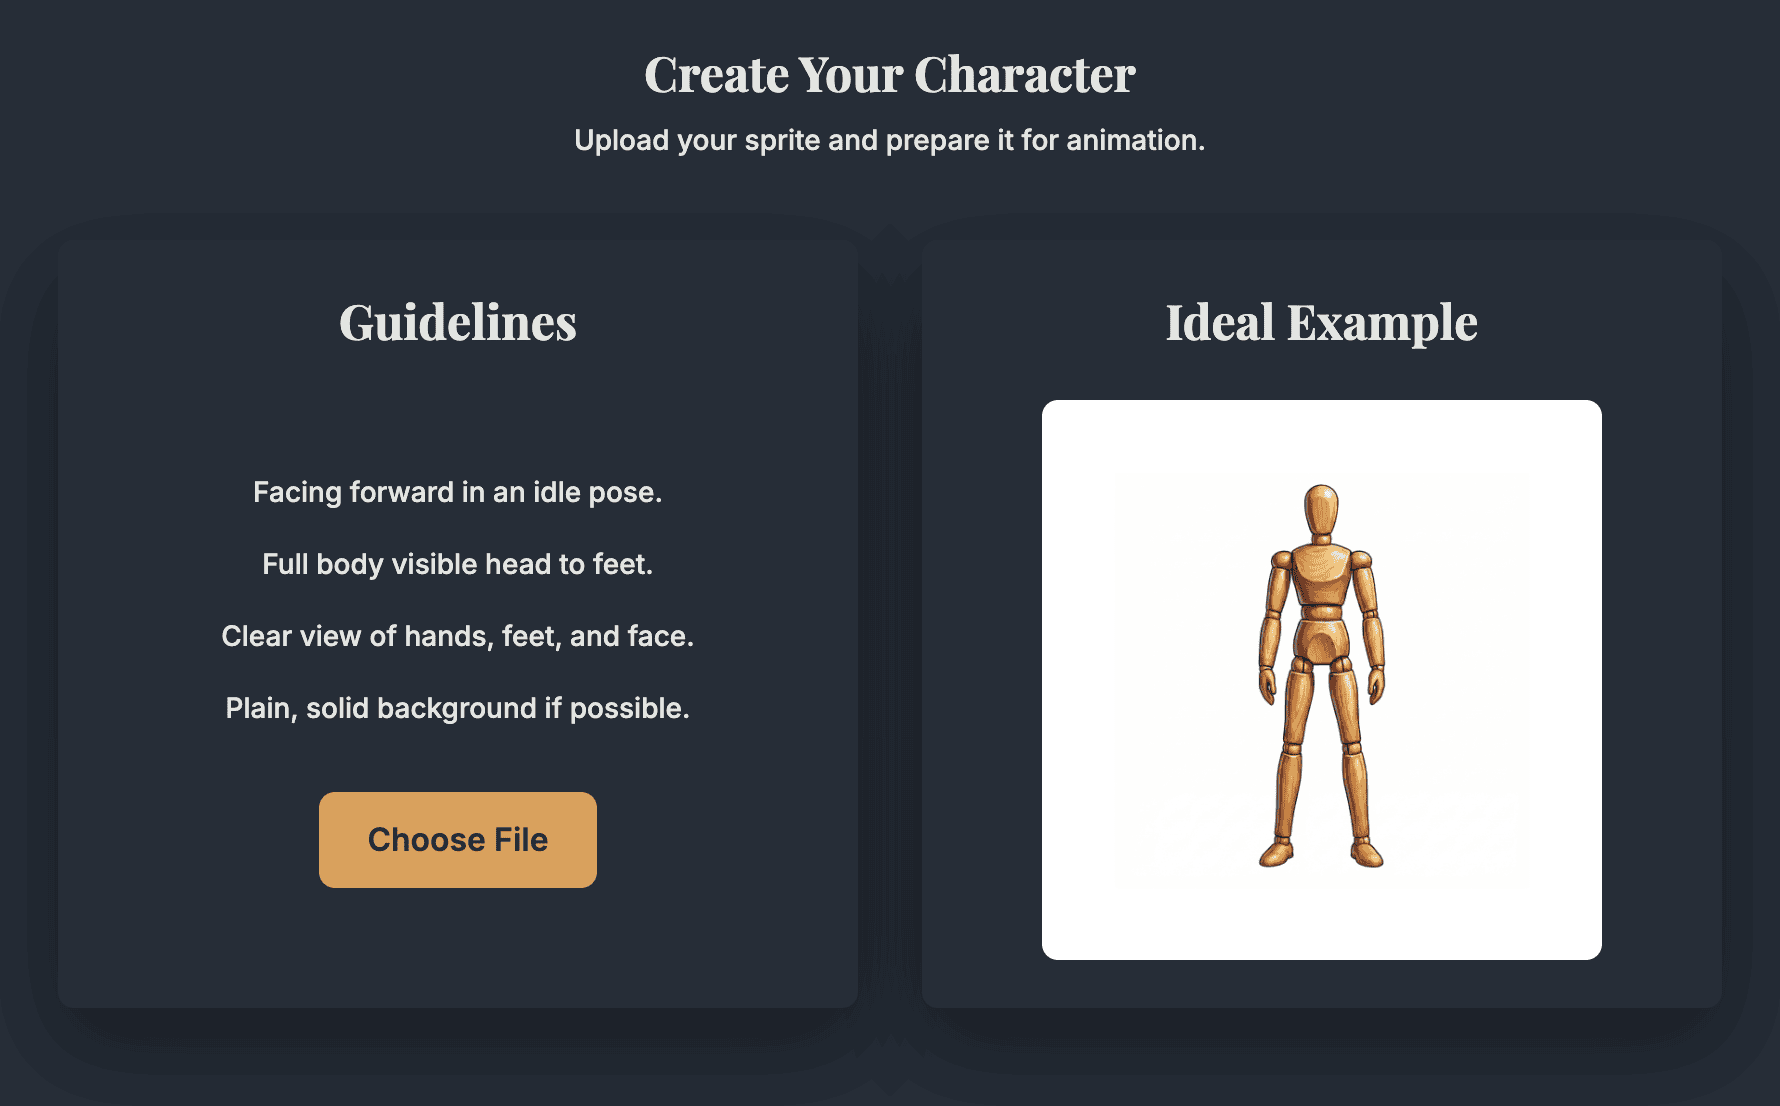
- Click "New Character" in the sidebar
- Drag and drop your image, or click to browse
- Give your character a name (e.g., "Knight", "Wizard")
- AutoSprite will analyze your image and detect the character
Characters work best when they fill most of the image. Crop tightly around your character before uploading.
Step 2: Select Animations
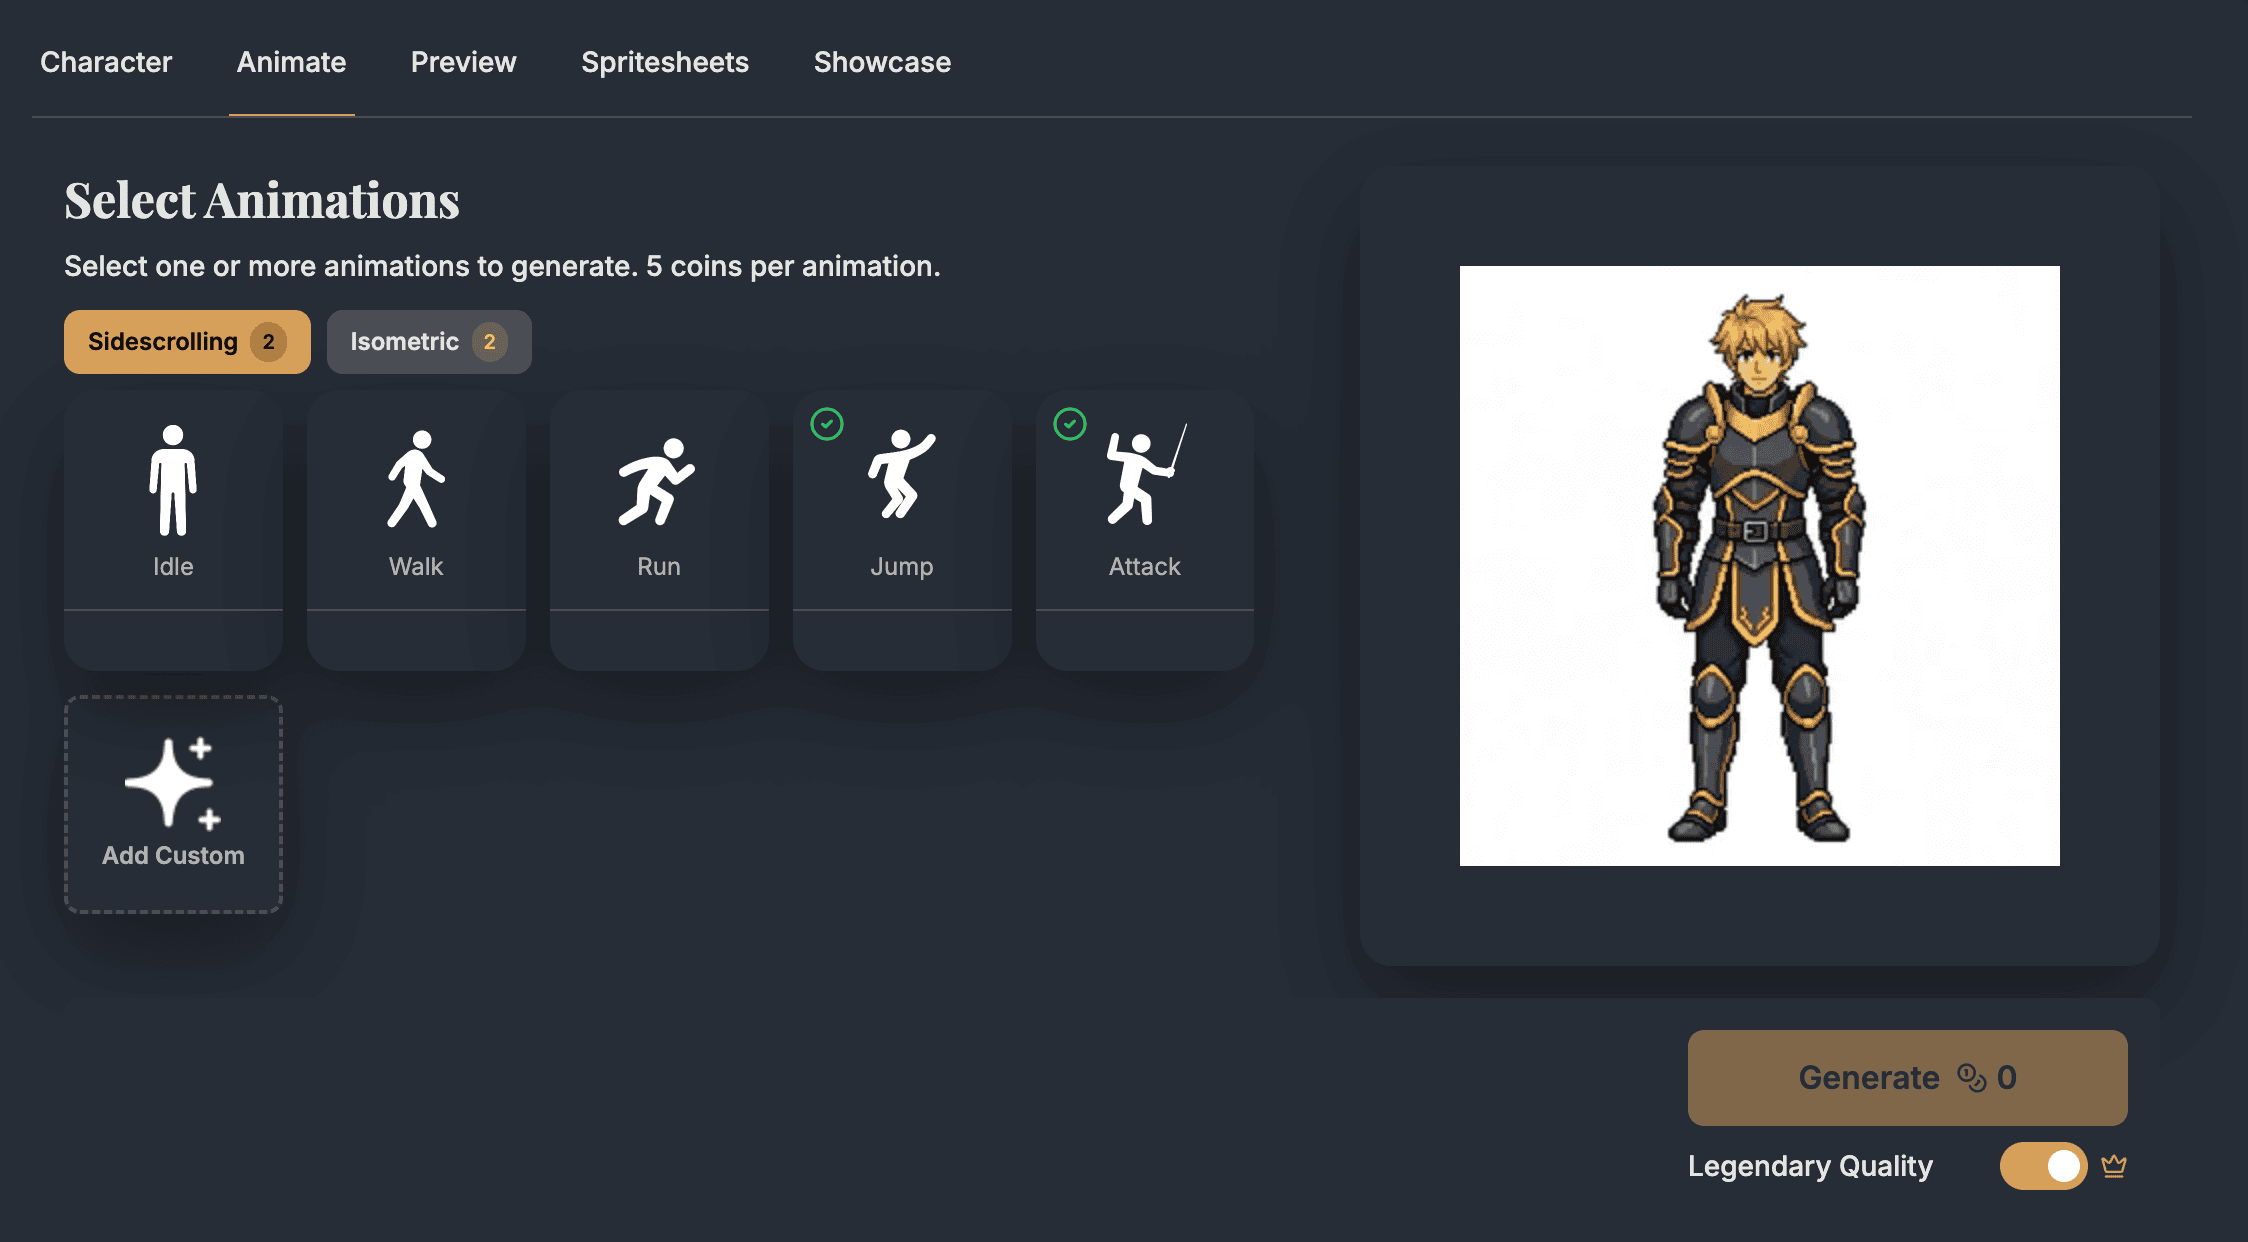
Select the animations you want to create:
| Animation | Description | Best For |
|---|---|---|
| Idle | Subtle breathing/standing loop | All games |
| Walk | Walking cycle | RPGs, platformers |
| Run | Running cycle | Action games |
| Jump | Jump arc | Platformers |
| Attack | Combat animation | Action, RPGs |
You can also create Custom animations by describing the action you want.
Step 3: Generate
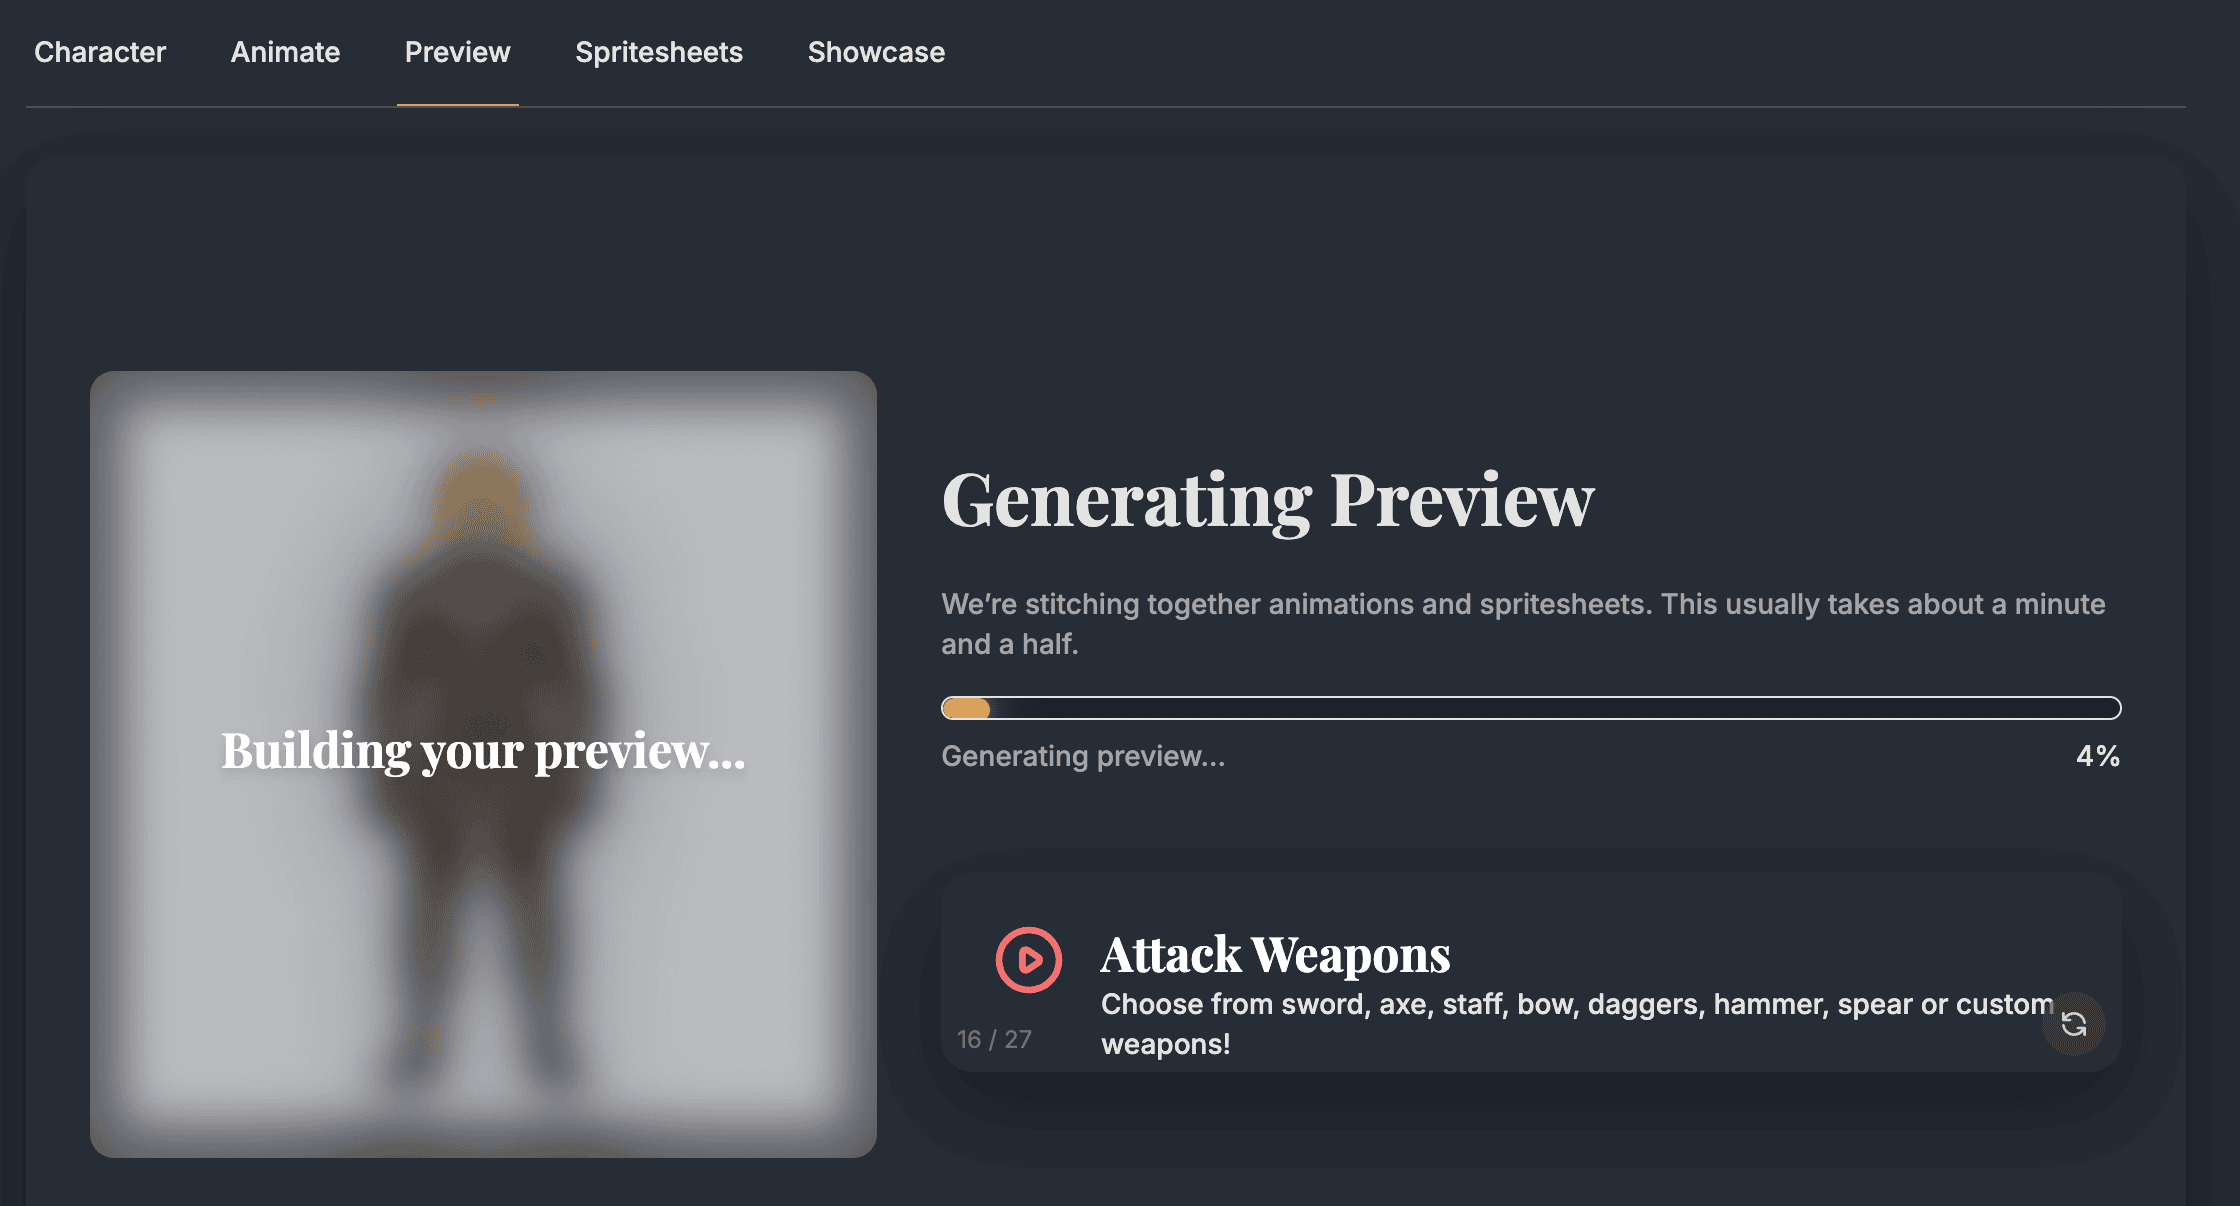
Click "Generate" to start. AutoSprite will:
- Create AI video loops for each animation
- Extract frames from each video
- Remove backgrounds automatically
- Assemble your spritesheet
This typically takes 30-60 seconds per animation.
Step 4: Preview Your Animations
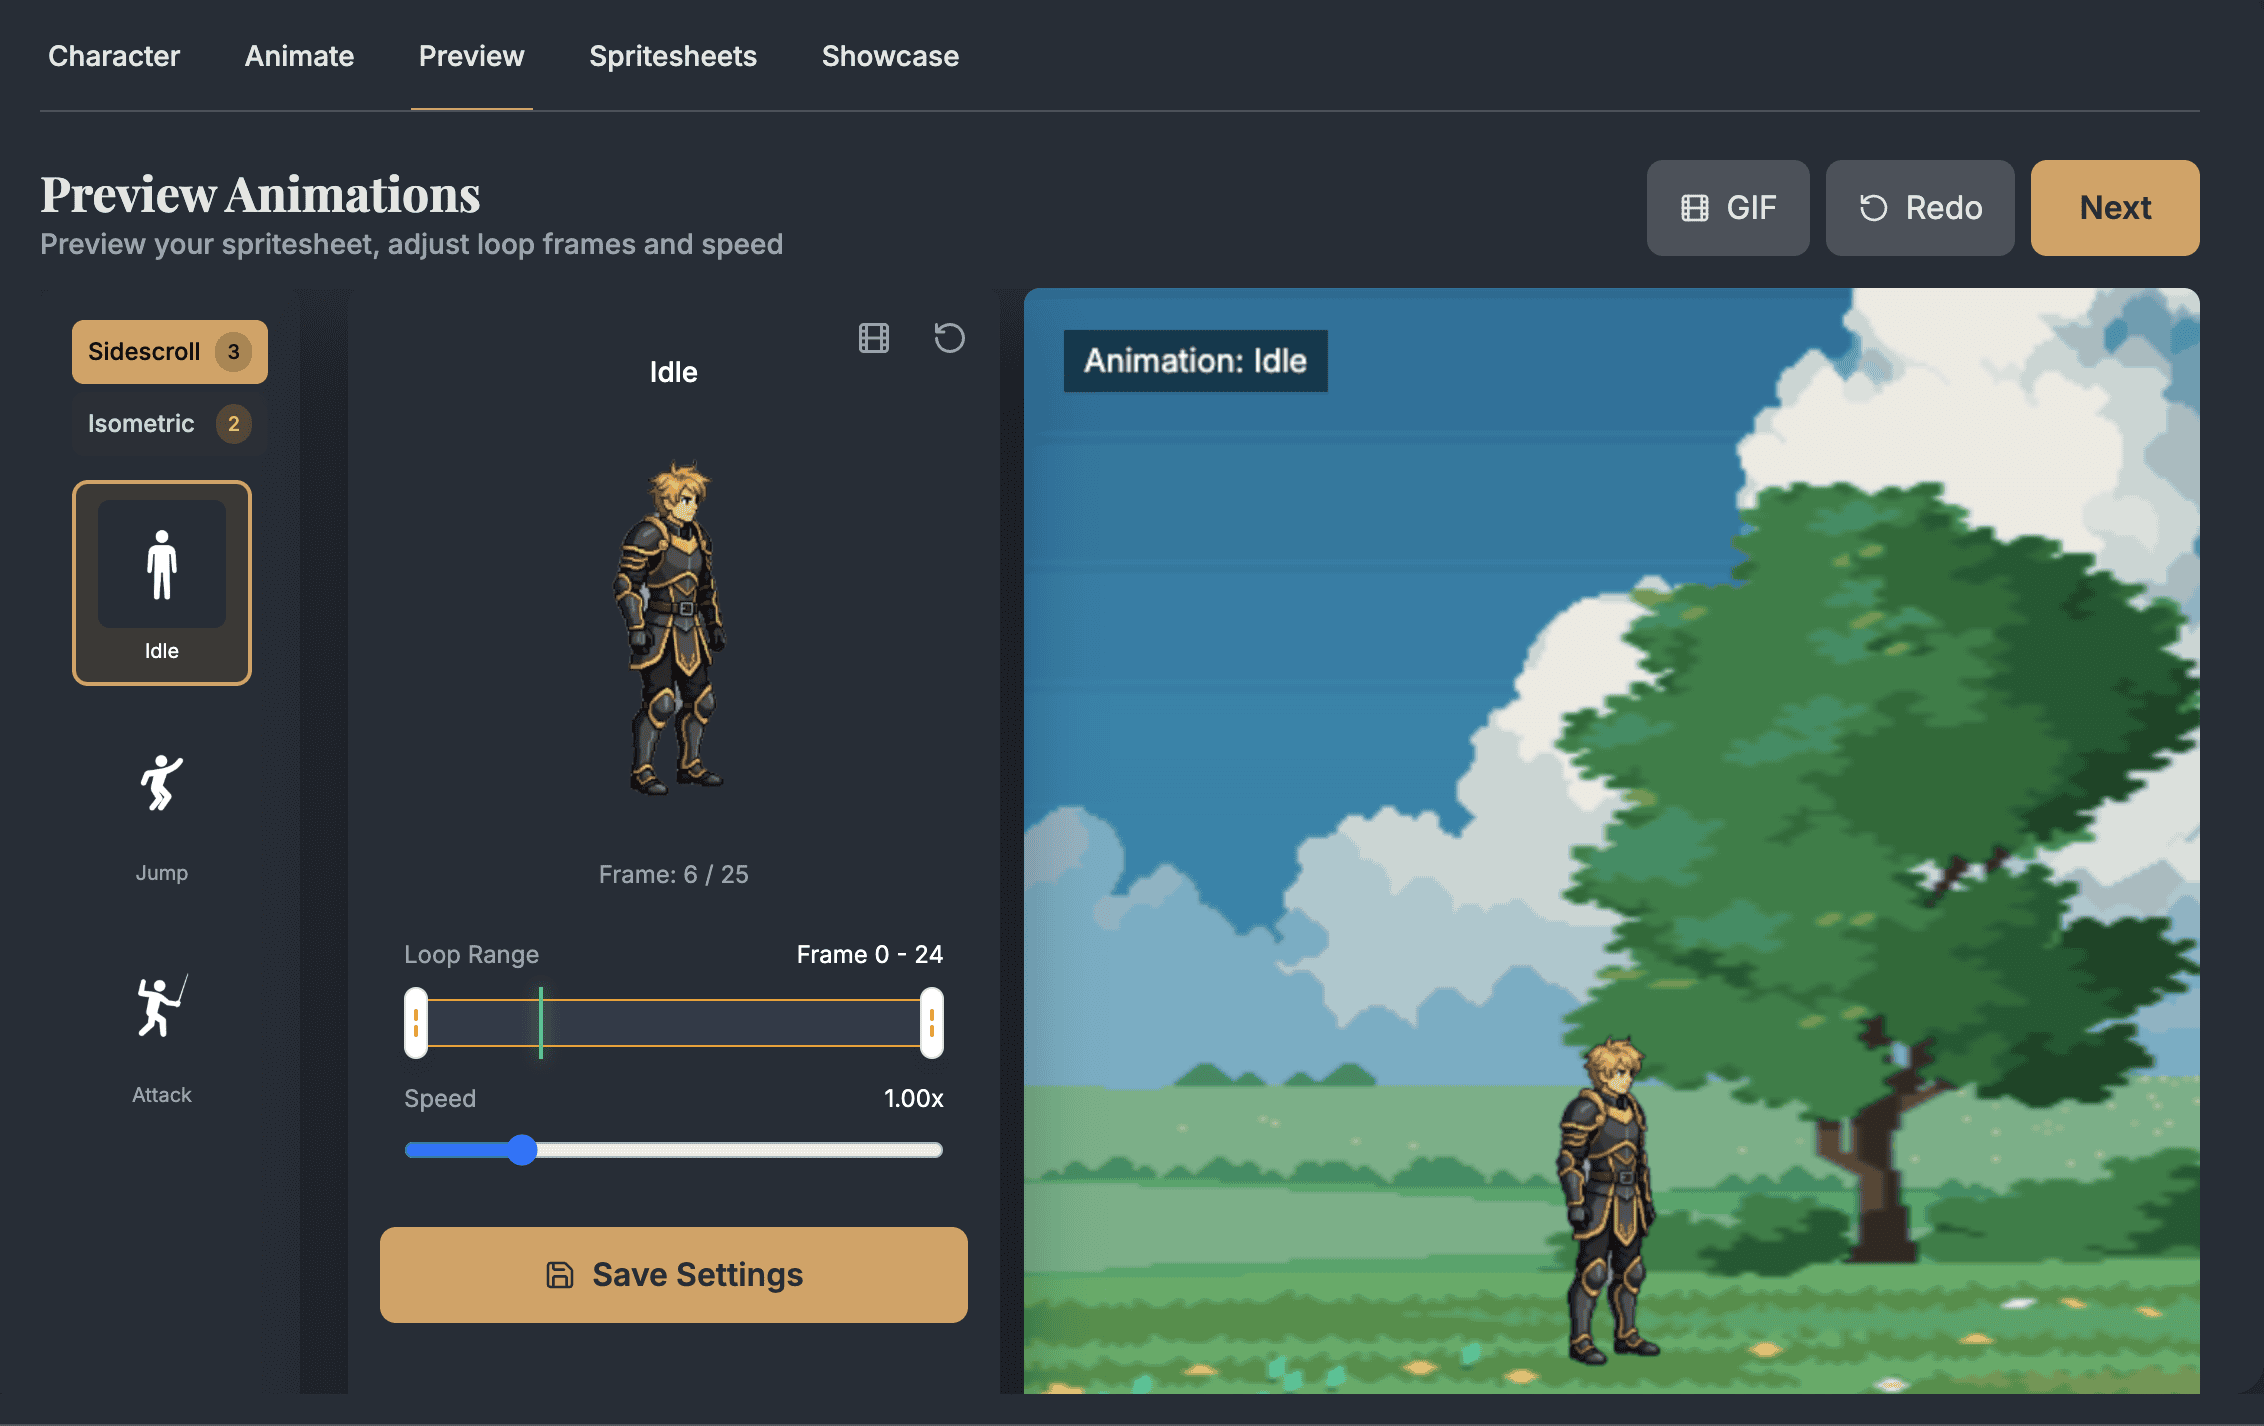
Once generation completes, use the preview to test your character:
- Arrow keys/WASD - Move your character
- Spacebar - Jump (if jump animation exists)
- Click - Attack (if attack animation exists)
Not happy with an animation? Click "Regenerate" to create a new version.
Step 5: Export
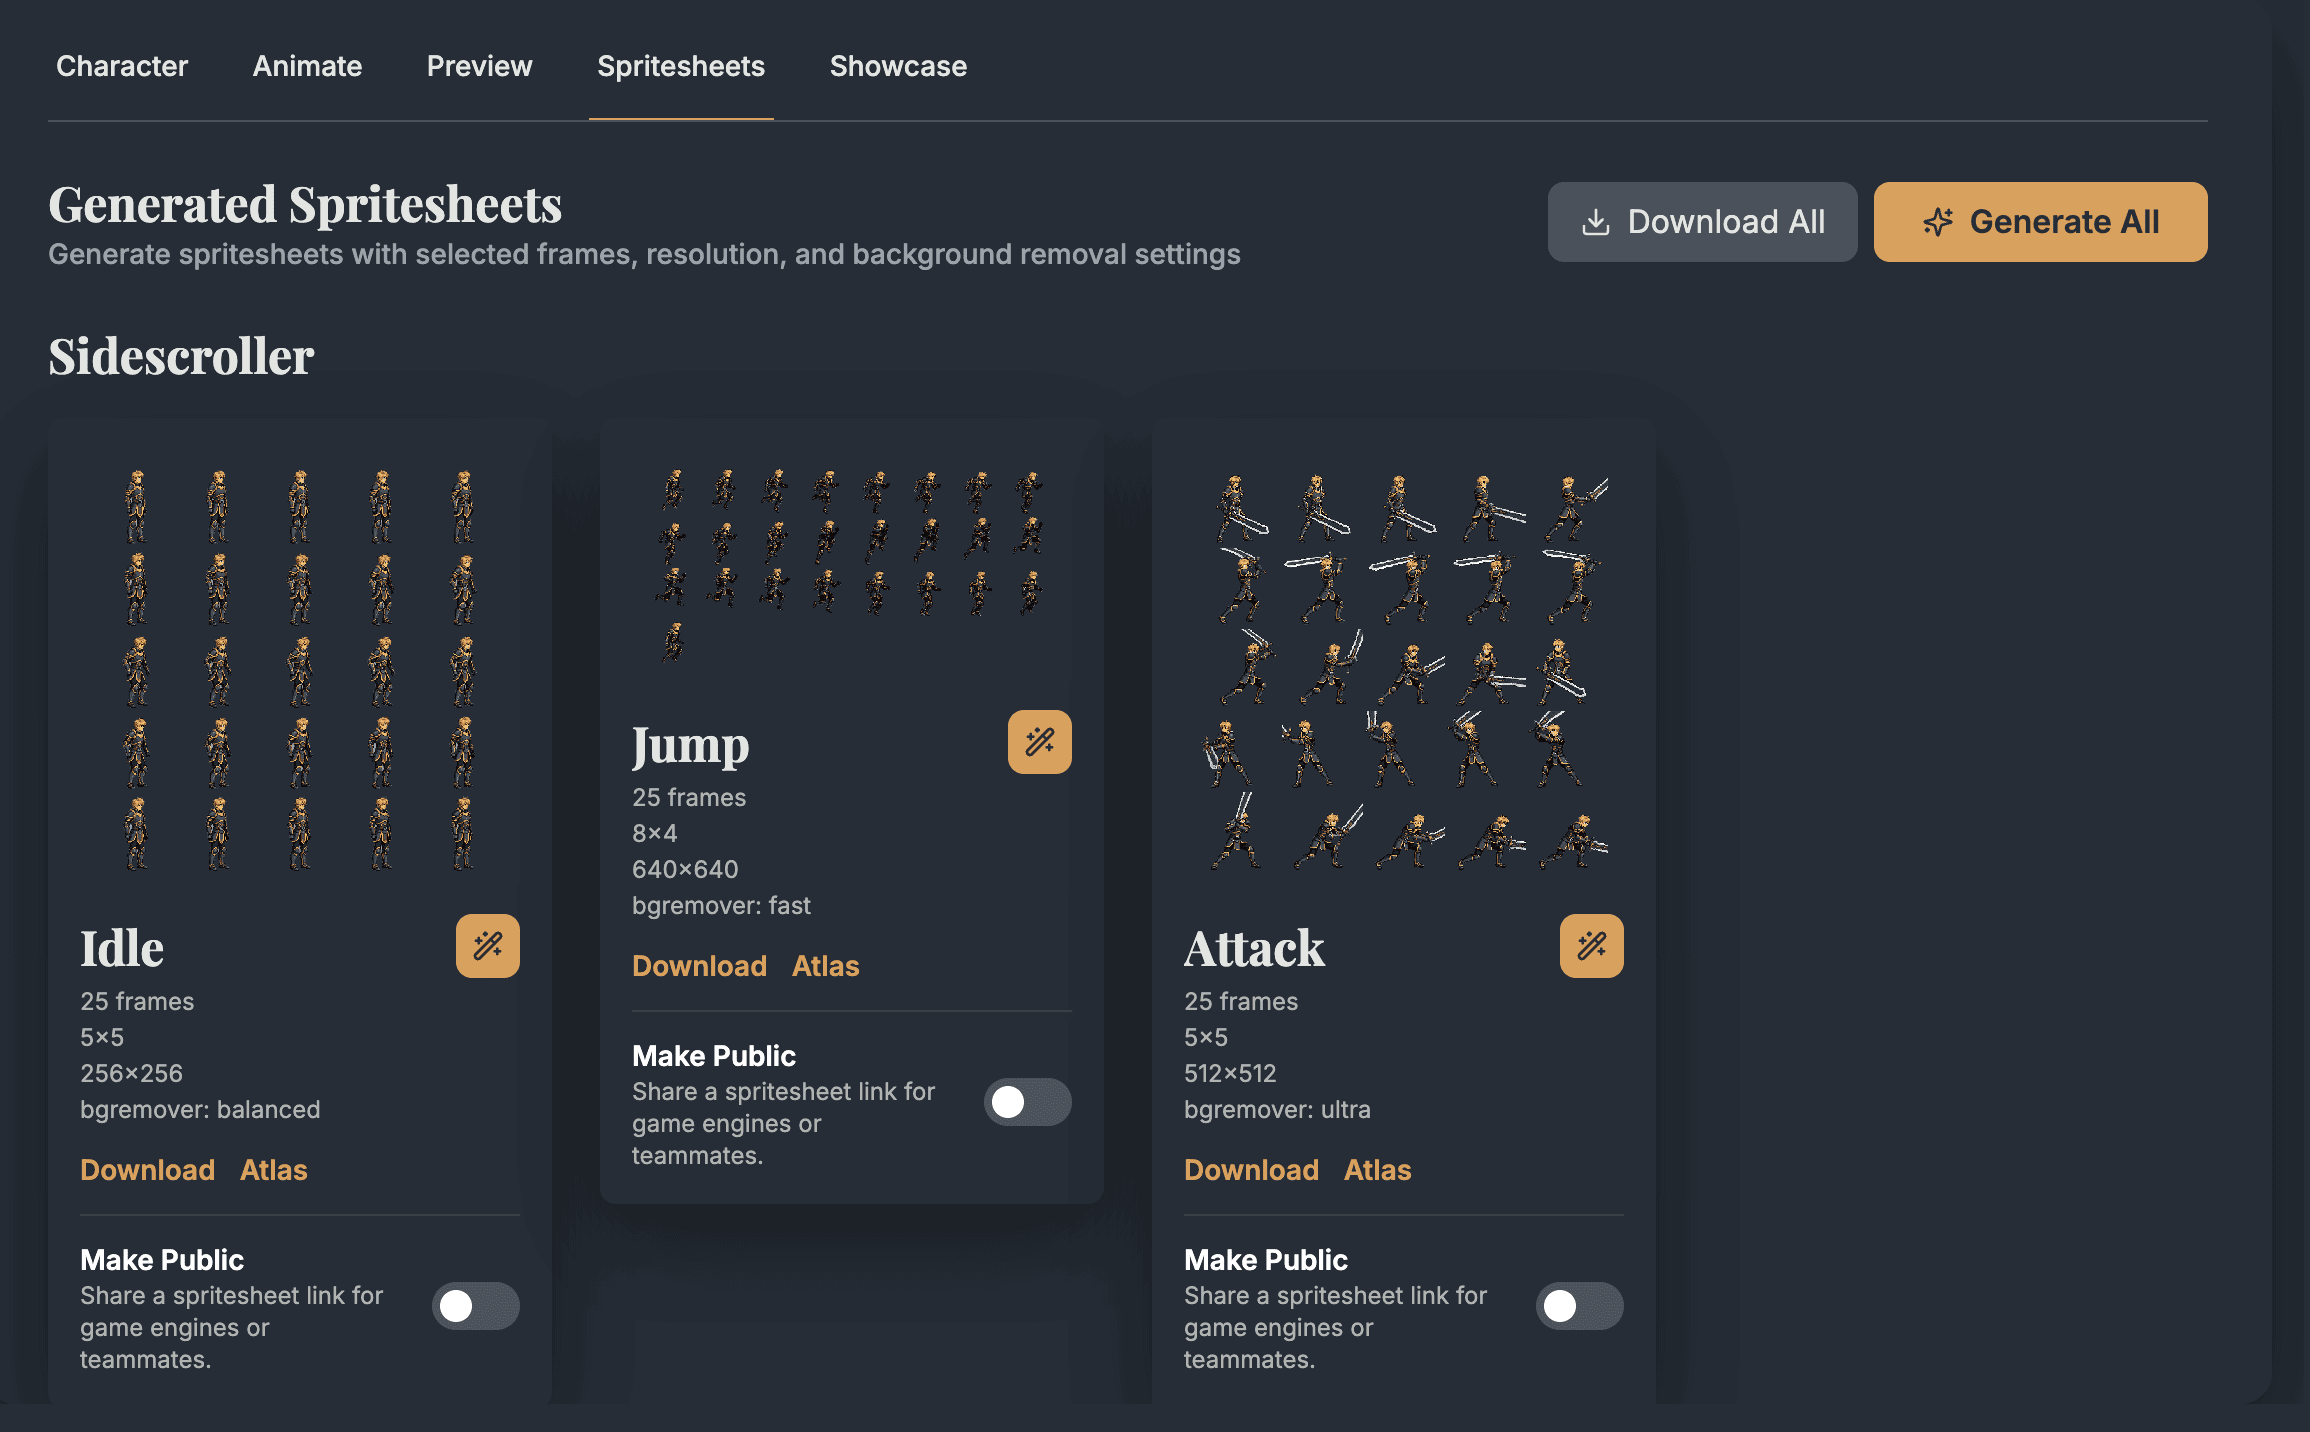
Click "Download" to export your spritesheet:
- PNG Spritesheet - All frames in a single image
- JSON Atlas - Frame positions and animation data
The JSON file includes frame coordinates, timing, and animation loop information that game engines can read directly.
What's Next?
Game Engine Guides
Learn how to import your spritesheet into Unity or Godot
Custom Animations
Create your own animations with the Custom Animation Wizard